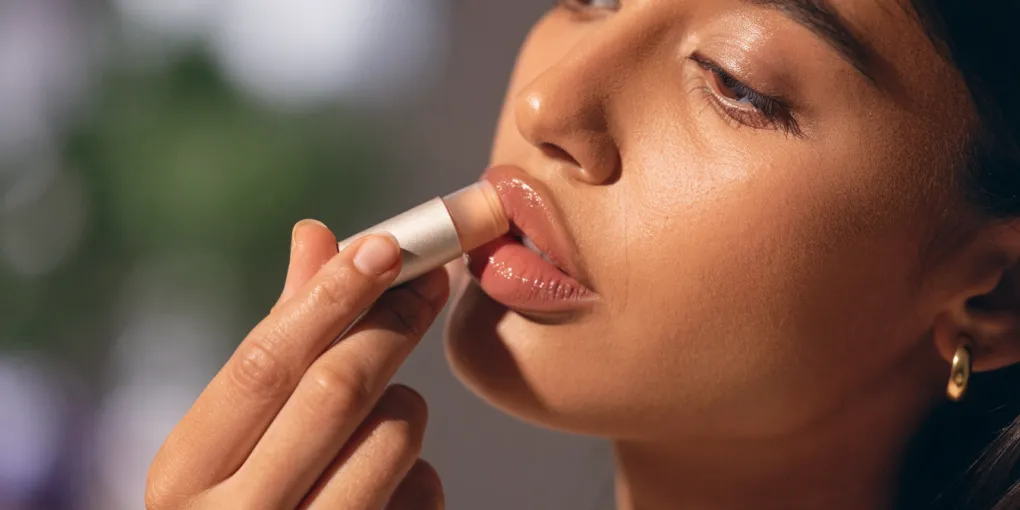
DIY lip balm uses natural ingredients like beeswax, shea butter, carrier oils, and essential oils to create a nourishing product. Unlike commercial balms that can create dependency, homemade versions offer antioxidant protection, promote healing, and soothe irritation. Key to safety is using gentle essential oils like chamomile or lavender, avoiding phototoxic citrus oils, and Key to safety is using gentle essential oils like chamomile or lavender, avoiding phototoxic citrus oils, and ensuring proper dilution of 0.5% or less.
Table of Contents
- Dry Lip Reality
- Essential Oils Benefit
- Base Ingredient Overview
- Safe Essential Oils
- Oils to Avoid
- Correct Dilution Rates
- Essential Equipment List
- The Classic Peppermint Blend
- The Soothing Lavender Recipe
- The Sweet Vanilla Orange Combo
- Step by Step Melting
- Temperature Control Tips
- Pouring and Setting
- Troubleshooting Texture
- Daily Application Tips
Dry Lip Reality
Many people with dry lips rely on commercial balms, but these often fail to fix the problem and can make it worse. Most store-bought balms are made with petroleum jelly or mineral oil, which form a thick, non-breathable coat. That coat traps moisture at first, so it feels like it helps, but it also prevents the lips from breathing and doing their natural work.
The lips normally stay hydrated through their own natural oils and by drawing moisture from the air. These essential oil functions are what keep lip skin healthy. When a synthetic barrier covers the lips all the time, these functions are blocked. The lips become dependent on the balm and gradually lose their ability to stay moist on their own, so they feel dry unless the product is constantly reapplied.
Artificial fragrances in commercial balms can also irritate the delicate skin of the lips, causing itching, tenderness, or allergic reactions. This irritation adds to dryness and makes people reapply the balm even more. Instead of truly healing or nourishing, these balms only manage the symptoms and create a long-term cycle of dependency.
Essential Oils Benefit
Essential oils are a natural way to nourish your lips, offering more than just surface moisture. Made from concentrated plant extracts, they work with your body to provide real therapeutic benefits—a shift toward nature-based lip care that has a deeper effect than synthetic products.
One key benefit is antioxidant protection. Your lips face daily stress from UV rays and pollution, which can cause damage and early aging. Antioxidants in oils like lavender and frankincense fight free radicals, helping protect the delicate skin on your lips and keeping them elastic, resilient, and healthier over time.
Many essential oils also support healing and cell renewal. Oils like tea tree and chamomile can calm irritation, reduce redness, and help repair chapped or cracked lips. With antioxidant protection, deep regeneration, and soothing effects, they keep lips soft, strong, and naturally vibrant—simple, holistic care powered by botanicals.
Base Ingredient Overview
Making your own lip balm starts with knowing the main ingredients that give it structure and moisture: beeswax, a butter like shea or cocoa, and Making your own lip balm starts with knowing the main ingredients that give it structure and moisture: beeswax, a butter like shea or cocoa, and a carrier oil like jojoba or almond. Each one has a special job, and together they make the balm work well.
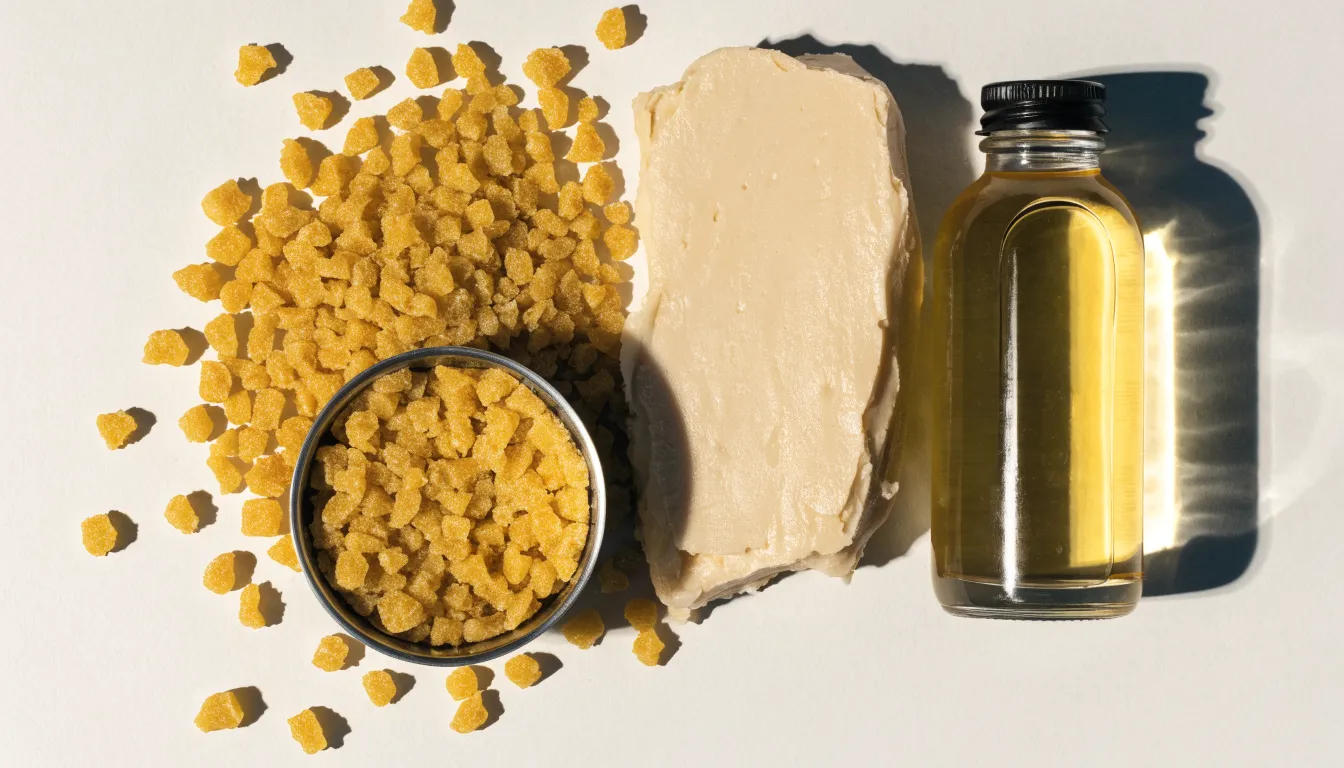
Beeswax gives the balm its solid shape. It holds everything together and keeps the balm from melting too easily. It also forms a thin shield on your lips, locking in moisture and protecting them from the weather. The butters add richness and creaminess. Shea butter conditions deeply, while cocoa butter adds a smooth, velvety feel. They are full of fatty acids and vitamins, so they soften and soothe dry, chapped lips.
Carrier oils, such as jojoba and almond oil, help moisture soak into your lips. Jojoba oil is similar to your skin’s natural oils, so it absorbs well without feeling greasy. Almond oil is rich in vitamins E and A, which moisturize and soften. When you combine beeswax for support, butter for creaminess, and oil for deep nourishment, you get a balanced lip balm that protects, hydrates, and feels great.
Safe Essential Oils
Making your own lip balm gives you full control over what goes on your lips, and choosing the right essential oils is key. Because lip skin is thinner and more delicate than other areas, it can easily get irritated. Gentle, skin-safe botanical oils help avoid reactions and make the balm soothing instead of harsh. Prioritizing oils with calming profiles ensures your lip balm cares for sensitive lips.
Chamomile essential oil, especially Roman chamomile, is known for its calming and anti-inflammatory benefits. In lip balm, it helps ease dryness and discomfort while leaving lips feeling soft. Its mild, herbaceous scent adds a pleasant, subtle note to the finished product.
Lavender essential oil is another very gentle and versatile choice. It soothes irritated skin and supports natural healing for chapped or dry lips. Its soft floral fragrance makes application relaxing and appealing. Both chamomile and lavender comfort the skin without being overpowering, making them ideal for the delicate lip area. Always dilute essential oils properly in carrier oils and butters to get the most benefit while keeping your lips safe.
Oils to Avoid
Choosing the right essential oils is key when making DIY lip balm. Be especially careful with cold-pressed citrus oils, since they contain furanocoumarins. These compounds can cause phototoxicity, meaning the skin becomes extremely sensitive when exposed to UV light after the oil is applied. Bergamot and lemon are common examples.
Lips are especially delicate, so phototoxic oils can cause real problems there. If you use a balm with these oils and go outside, you may end up with redness, burning, blistering, or dark patches that linger—basically a severe sunburn. The thin skin of the lips makes this reaction even stronger.
To stay safe, completely avoid cold-pressed citrus oils like bergamot, lemon, lime, and grapefruit in lip balm. Steam-distilled versions are less phototoxic, but for the lips, the safest choice is a non-phototoxic oil or a citrus oil labeled FCF, meaning furanocoumarin-free. That way, your balm nourishes your lips without any unwanted side effects.
Correct Dilution Rates
Essential oils are highly concentrated plant extracts, so getting the dilution right is the most important step in making lip balm. For lips, the safe amount is always 0.5% or less, because lips are delicate mucous membranes. This low concentration helps prevent irritation, redness, burning, tingling, or dryness while still allowing the oils to add their gentle benefits.
Lips are thinner and more absorbent than skin elsewhere, so they need extra care. In practice, a 10-milliliter batch of lip balm should contain only one drop of essential oil, and a 30-milliliter batch should contain no more than three drops. Use a reliable dropper for accuracy, and when you are unsure, use less—essential oils cannot be removed once they are mixed into the balm.
Choosing mild, lip-safe essential oils also matters. True lavender and non-phototoxic citrus varieties are gentler options. Following these simple dilution rules keeps your homemade lip balm both effective and soothing, protecting your lips while still giving you the benefits of essential oils.
Essential Equipment List
Use heat-safe glass measuring cups for measuring and melting. Have one for solid ingredients like waxes and butters, and another for liquids like carrier oils. This keeps things clean and makes the process easier. Silicone spatulas are also key—they mix everything thoroughly and scrape out every last bit of melted balm, so you don’t waste any.
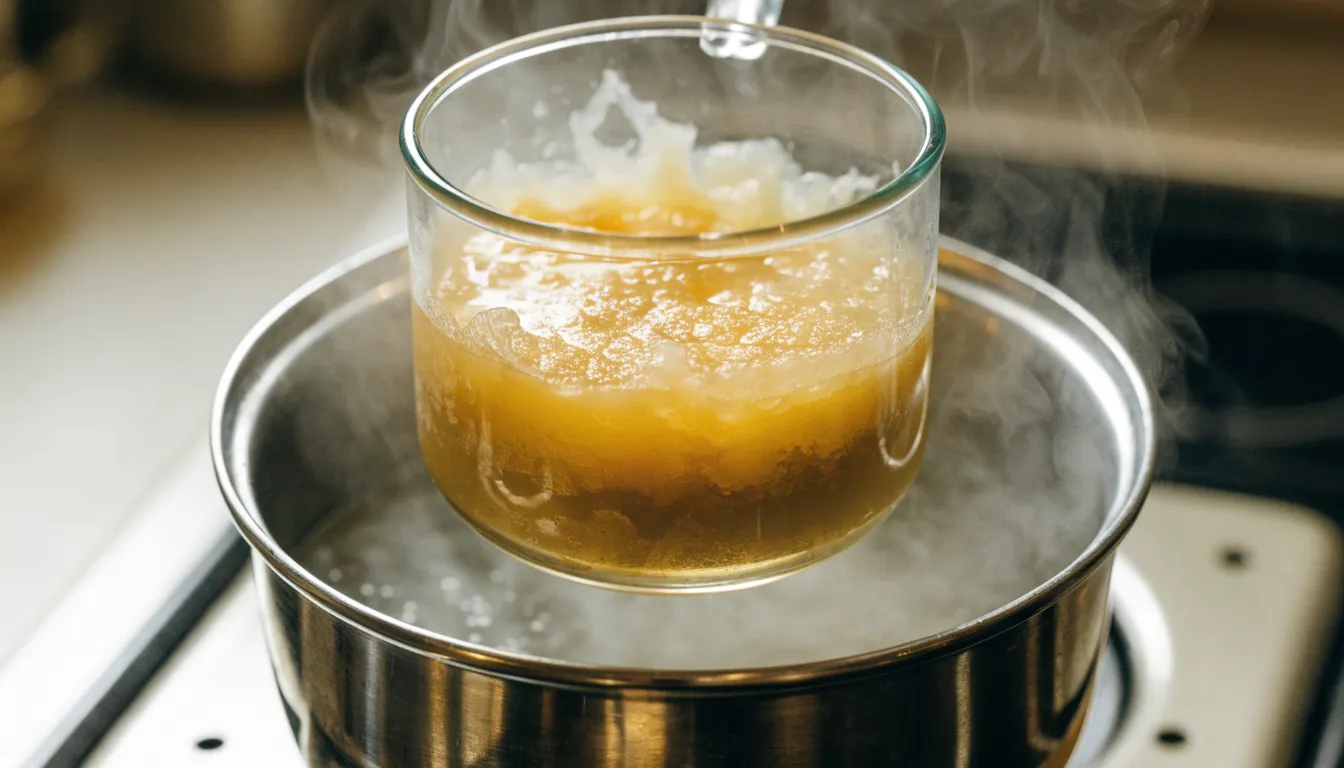
For melting, use a double boiler setup. Place your glass measuring cup in a pot of simmering water. The gentle heat stops the waxes and butters from scorching, which keeps their helpful properties intact and gives you a smooth base for the balm.
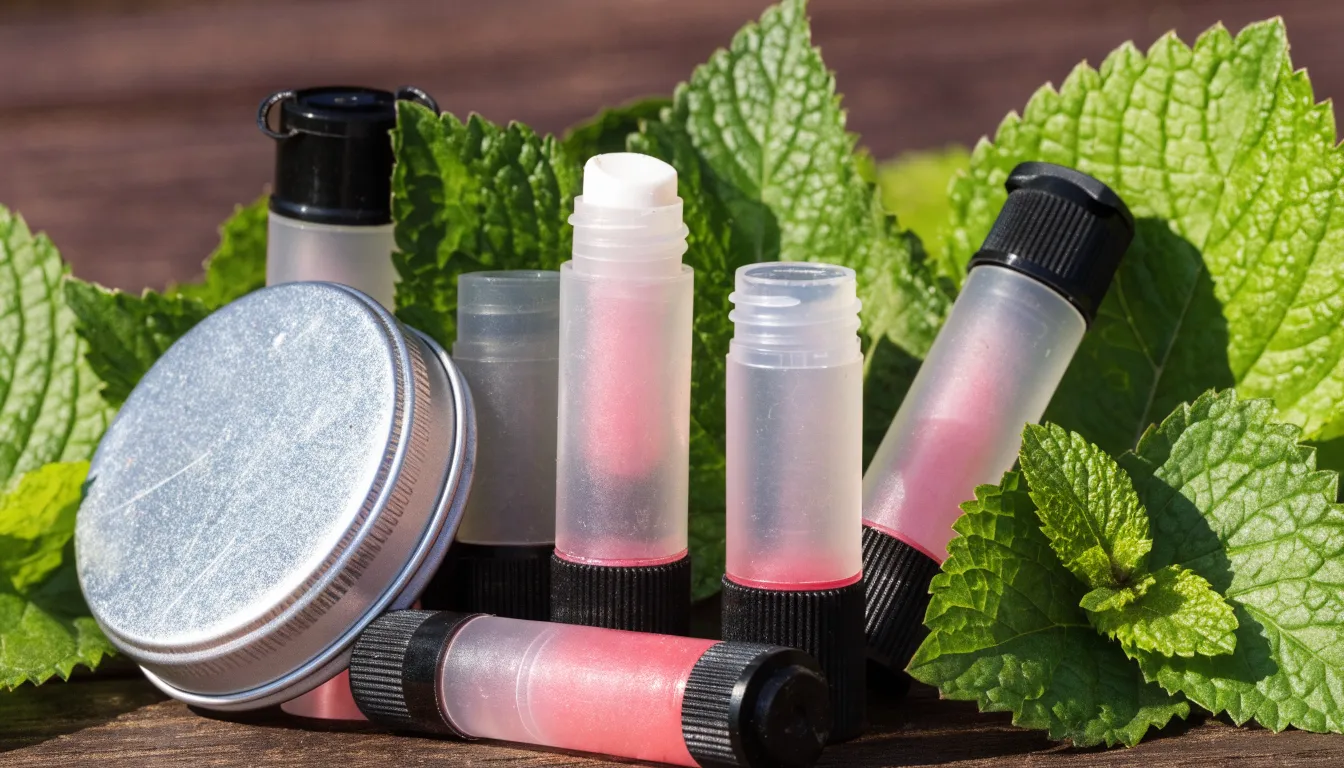
Finally, have your lip balm tubes or small tins ready ahead of time. Twist-up tubes are portable and hygienic, while tins or jars work well for applying with your finger. If your containers are prepared, you can pour the warm balm immediately without it hardening too soon.
The Classic Peppermint Blend
This blend uses peppermint essential oil to give your lips a refreshing, cooling tingle that wakes up your senses. The oil helps improve blood flow to the lips, making them feel revitalized and healthy, while also leaving your breath feeling fresh. Beyond the physical effects, its scent promotes alertness and mental clarity, and the balm itself glides on smoothly for long-lasting hydration.
To make it, you will need one tablespoon each of beeswax pellets, shea butter, and virgin coconut oil, plus eight to ten drops of peppermint essential oil—which is the key ingredient for that stimulating, cooling effect. These measurements will fill roughly three standard lip balm tubes or one small tin.
The process is simple: melt the wax, butter, and oil together in a double boiler until liquid. Let it cool for a minute or two, then stir in the peppermint essential oil to spread it evenly. Pour the mixture into your containers and let it sit until fully solid. Once set, the balm is ready to provide soothing hydration and an instant burst of cool, refreshing energy.
The Soothing Lavender Recipe
Lavender essential oil is the star of this lip balm, chosen for its calming, restorative effects. It helps soothe minor irritations and eases the pain of badly chapped or cracked lips, while its gentle aroma adds a relaxing touch to every application.
Shea butter works alongside the lavender as a deep moisturizer. Rich in vitamins and fatty acids, it soaks into the delicate lip skin, creating a soft barrier that locks in moisture and protects against dryness and harsh weather. Its natural anti-inflammatory qualities also help calm sensitive or damaged lips.
Together, lavender oil and shea butter form a healing blend that repairs lip damage and encourages fast recovery. It works especially well on cracked or sunburned lips, and applying it before bed lets the ingredients restore lips overnight—turning rough, sore lips soft and smooth by morning.
The Sweet Vanilla Orange Combo
Sweet orange and vanilla make a lovely lip balm scent, but citrus oils need care. If used on skin that will be in the sun, cold-pressed citrus oils can cause phototoxic reactions—meaning they can make lips sensitive and easily sunburned. This happens because furanocoumarins from the citrus rind stay in the oil and react with UV light.
The safe fix is to choose steam-distilled sweet orange essential oil instead. Steam distillation removes those phototoxic furanocoumarins, so the oil keeps its bright, cheerful scent without the sunburn risk. That makes it a safe choice for lip balm and other leave-on products, even when you go outdoors.
Pairing it with vanilla extract boosts the experience without adding danger. Vanilla is not phototoxic and is gentle on skin, bringing a warm, creamy sweetness that balances the orange. Together, they create a comforting, safe blend that gives your homemade lip balm a sunshine-like aroma you can use worry-free every day.
Step by Step Melting
To make DIY lip balm, you need to melt the base ingredients carefully. Use a low-and-slow heating method, especially for beeswax and solid fats like cocoa butter or shea butter. This keeps everything smooth and protects the natural goodness in the ingredients, so the balm can work well and carry the benefits of essential oils.
Use a double boiler to avoid direct heat. Start with the beeswax, letting it soften slowly over simmering water. If you rush with high heat, the balm can become sticky, uneven, or burnt. Gentle heat keeps the base clean and ready so the essential oils can do their job later.
After the beeswax melts, add the solid fats. High heat can make them grainy and destroy the vitamins, nutrients, and healthy fatty acids that moisturize and heal your lips. Keeping the heat low preserves those properties. Stir gently until everything becomes a clear, even liquid, and then your melted base is ready for the essential oils.
Temperature Control Tips
The Key to Success: Managing Heat
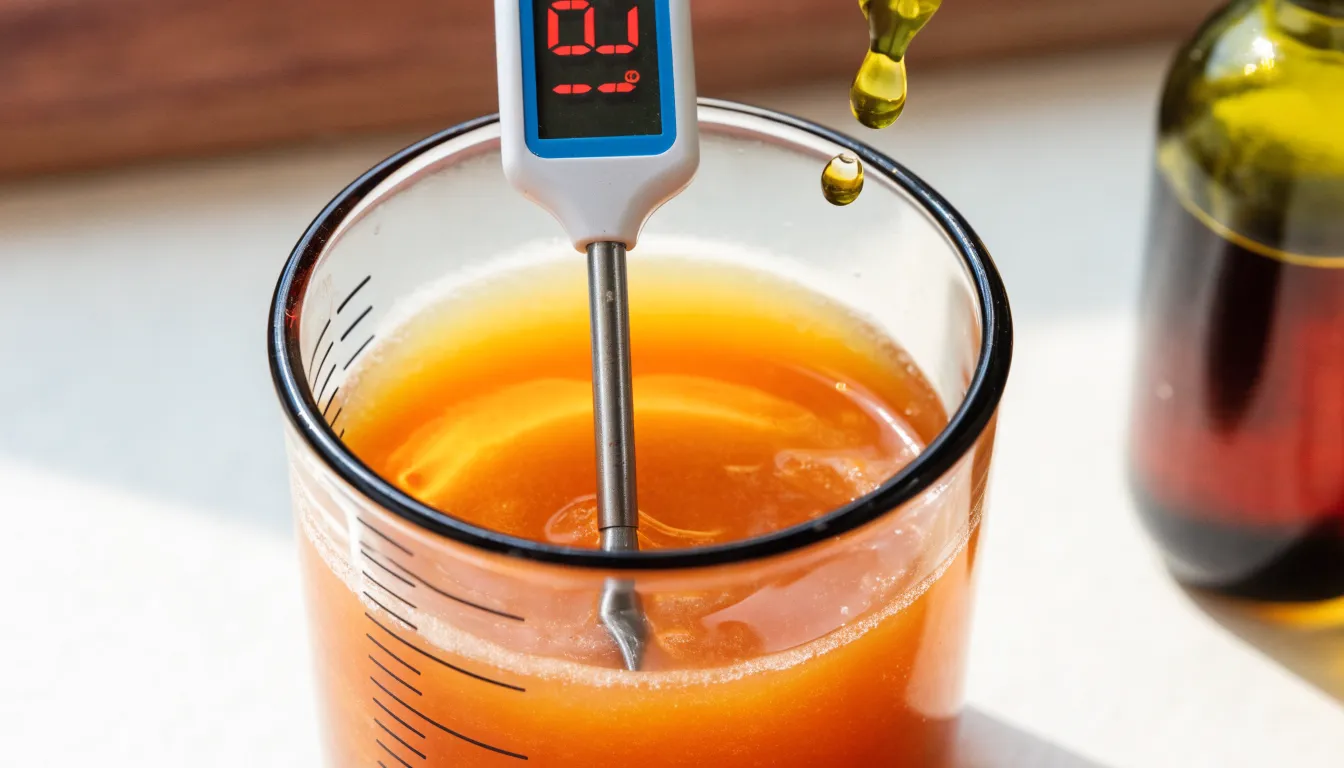
Making lip balm at home means paying close attention to temperature, especially when working with essential oils. These oils are made of volatile aromatic compounds, which give them their scent and healing benefits but also make them quick to evaporate when exposed to heat. If you add them to your melted balm base while it’s still very hot—especially above 140°F—those delicate compounds will vanish, taking the fragrance and beneficial properties with them.
Why Cooling Matters
When you melt waxes and butters, the mixture gets much hotter than what essential oils can safely handle. Pouring the oils into this scorching base causes them to vaporize almost immediately, meaning you lose the very qualities you wanted to infuse. The result is a balm that is weak in both aroma and effectiveness. To prevent this, you must wait.
The Right Timing for Best Results
Let your melted base cool down significantly before adding the oils. Remove it from the heat, stir it occasionally for a few minutes, and aim for a temperature well below 140°F. The base should still be liquid enough to mix smoothly, but cool enough that the oils won’t instantly burn off. This patient step keeps the aromatic compounds intact, allowing them to blend fully into the balm—giving you the strongest possible fragrance, flavor, and healing benefits in your final homemade product.
Pouring and Setting
Once your lip balm mixture is fully melted, pour it carefully into your containers. Use small droppers or pipettes for better control—they help guide the liquid balm into tiny pots without dripping on the edges. Work slowly and keep the dropper steady. Place the containers on a parchment-lined baking sheet to catch any spills. Fill each one almost to the top, leaving just a small gap for the balm to settle.
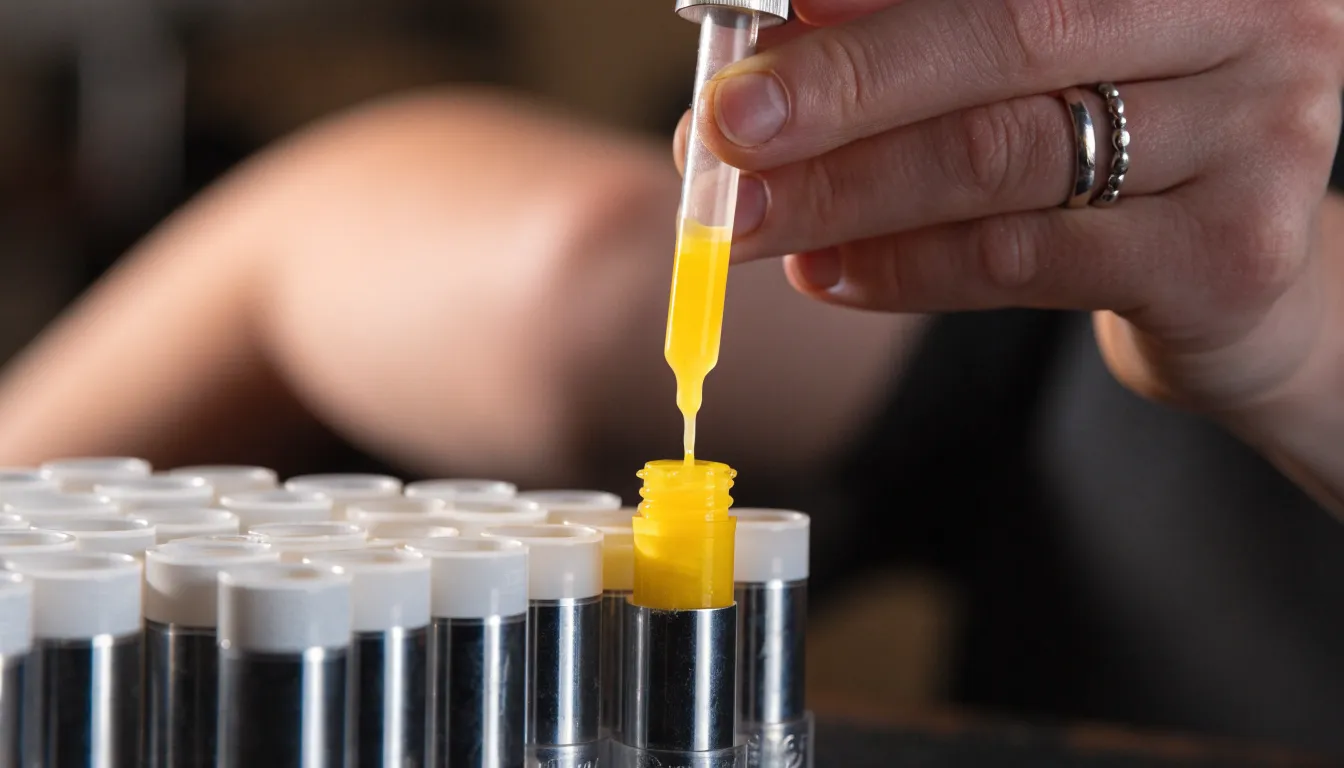
Let the filled containers set at room temperature, away from direct sunlight or drafts. Don’t put them in the refrigerator right away, because rapid cooling can cause uneven hardening, shrinking, or sunken spots. If a dip appears while cooling, gently reheat a little leftover balm and add a few drops to fill it in before letting it set again.
Patience is important during this stage. Allowing your essential-oil lip balm to cool slowly and evenly helps it finish with a smooth, consistent texture and a clean, professional look, ready for use.
Troubleshooting Texture
Getting lip balm texture right can be tricky. If your balm is too hard to apply smoothly, or too soft and quick to melt, don’t worry—it can be fixed, and you don’t need to throw the batch away.
The simple fix is to gently remelt the whole lip balm base. Use a double boiler or a heat-safe container, and warm it until it is completely liquid. Melting gently helps protect the essential oils, so they keep their scent and beneficial properties.
This step is important because it lets you make precise adjustments to your formula. Once the mixture is liquid, you can correct the balance and set your balm into a better texture.
Daily Application Tips
Your DIY lip balm with essential oils works well as a daily lip care staple. Before applying lipstick, put a thin, even layer on clean lips and let it absorb for a moment. This creates a smooth base, helps prevent lipstick from drying out your lips, and can even make your color last longer. If your lips feel dry or your lipstick fades, a small dab of balm over the top adds gentle shine and fresh moisture.
In cold weather, your essential oil lip balm becomes a protective shield. Apply a generous layer before going outside to guard against wind, cold air, and low humidity. This barrier seals in moisture and stops your lips from drying out. Reapply often during winter, especially after eating or drinking, to keep chapping and cracking away and to keep your lips comfortable.
Make lip balm a regular habit. Use it every morning after brushing your teeth, after meals and snacks, and before bed for overnight repair. Keep a tube at your desk, in your bag, and by your bedside so it’s easy to grab. And remember to drink plenty of water—hydration from the inside works together with your natural balm to keep your lips soft and healthy all year long.
Frequently Asked Questions
Why do commercial lip balms make my lips feel drier over time?
Commercial lip balms often contain petroleum jelly or mineral oil, which form a non-breathable coat that prevents lips from hydrating naturally. This can lead to dependency, blocking the lips’ ability to stay moist on their own, and artificial fragrances can also irritate delicate skin.
How do essential oils benefit dry and chapped lips?
Essential oils offer antioxidant protection against daily stress and support healing and cell renewal. Oils like lavender and frankincense fight free radicals, while tea tree and chamomile can calm irritation, reduce redness, and help repair chapped or cracked lips.
Which essential oils should I avoid using in lip balm?
You should completely avoid cold-pressed citrus oils like bergamot, lemon, lime, and grapefruit in lip balm due to their phototoxic compounds. These can cause severe reactions such as redness, burning, or blistering on delicate lip skin when exposed to UV light.
What is the recommended dilution rate for essential oils in lip balm?
For delicate lips, essential oils should be diluted to 0.5% or less to prevent irritation. This means using only one drop of essential oil for a 10-milliliter batch of lip balm, or no more than three drops for a 30-milliliter batch.
When should I add essential oils to my DIY lip balm mixture?
Essential oils should be added to your melted balm base only after it has cooled significantly, ideally below 140°F. Adding them to a very hot base will cause the volatile aromatic compounds to vaporize, leading to a loss of fragrance and beneficial properties.
What are the main base ingredients for making homemade lip balm?
The main base ingredients for homemade lip balm include beeswax, which provides solid shape and a protective shield, a butter like shea or cocoa for richness and conditioning, and a carrier oil such as jojoba or almond for deep moisture and absorption.