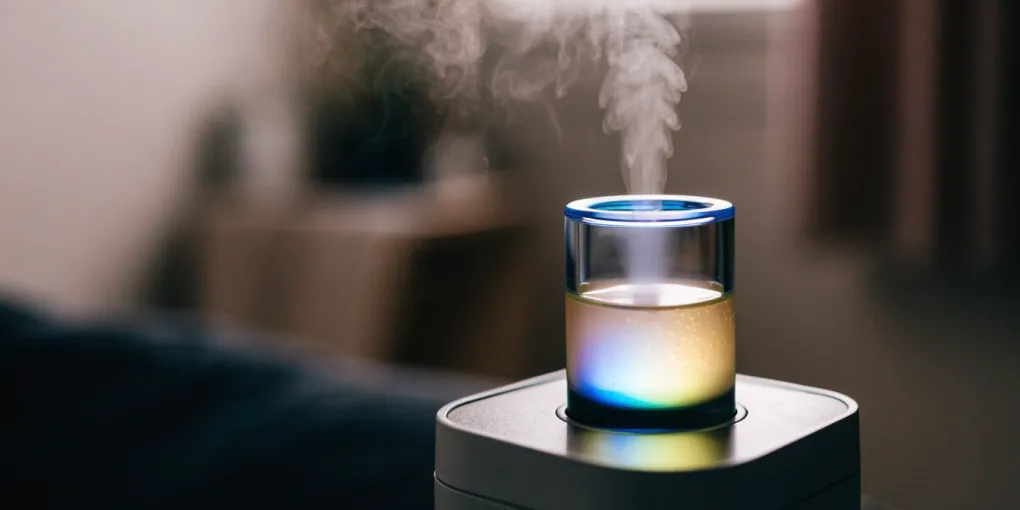
To clean an essential oil diffuser, first unplug it and empty any remaining water, pouring away from air vents. For daily upkeep, wipe the tank with a damp cloth. Weekly, fill halfway with water and a teaspoon of white vinegar, run for 5 minutes, let sit for 30, then rinse. Use rubbing alcohol and cotton swabs for sticky residue and to gently clean the ultrasonic plate. Always dry thoroughly to prevent mold.
Table of Contents
- Why Clean Your Diffuser
- Essential Cleaning Supplies
- Knowing Your Diffuser Type
- Safety First Steps
- Emptying Remaining Water
- Quick Daily Maintenance
- Running the Cleaning Cycle
- Rinsing Without Damage
- Tackling Sticky Residue
- Cleaning the Ultrasonic Plate
- Handling Mold and Mildew
- Drying Your Diffuser
- Reassembling the Machine
- What to Avoid
- Establishing a Schedule
Why Clean Your Diffuser
Regular cleaning keeps your diffuser working well and your oils smelling right. Over time, old essential oil residue builds up inside the tank. When you add a fresh oil, it can mix with that old residue, creating a muddy, unpleasant scent. This ruins the true aroma and reduces the therapeutic benefit of the oil. A clean tank means every new oil diffuses fresh and pure.
A dirty diffuser can also grow bacteria and mold, since it holds warm water and leftover oil. When the diffuser runs, these germs can spread into the air you breathe. That can irritate your lungs or trigger allergies. Cleaning it regularly means you are only diffusing beneficial oils, not harmful pollutants.
Leftover oil can also clog the diffuser’s inner parts. Thick oils leave a sticky film that coats the ultrasonic disc, so it makes less mist. Vents can get blocked, causing the motor to overwork. Over time, this leads to weaker performance and breakdowns. Simple regular cleaning protects your device and keeps it running for years.
Essential Cleaning Supplies
Before you clean your diffuser, gather a few simple household supplies. White vinegar is key: its mild acidity breaks down mineral scale and hard water buildup in the water tank and on the ultrasonic plate, while also disinfecting naturally without harsh chemicals.
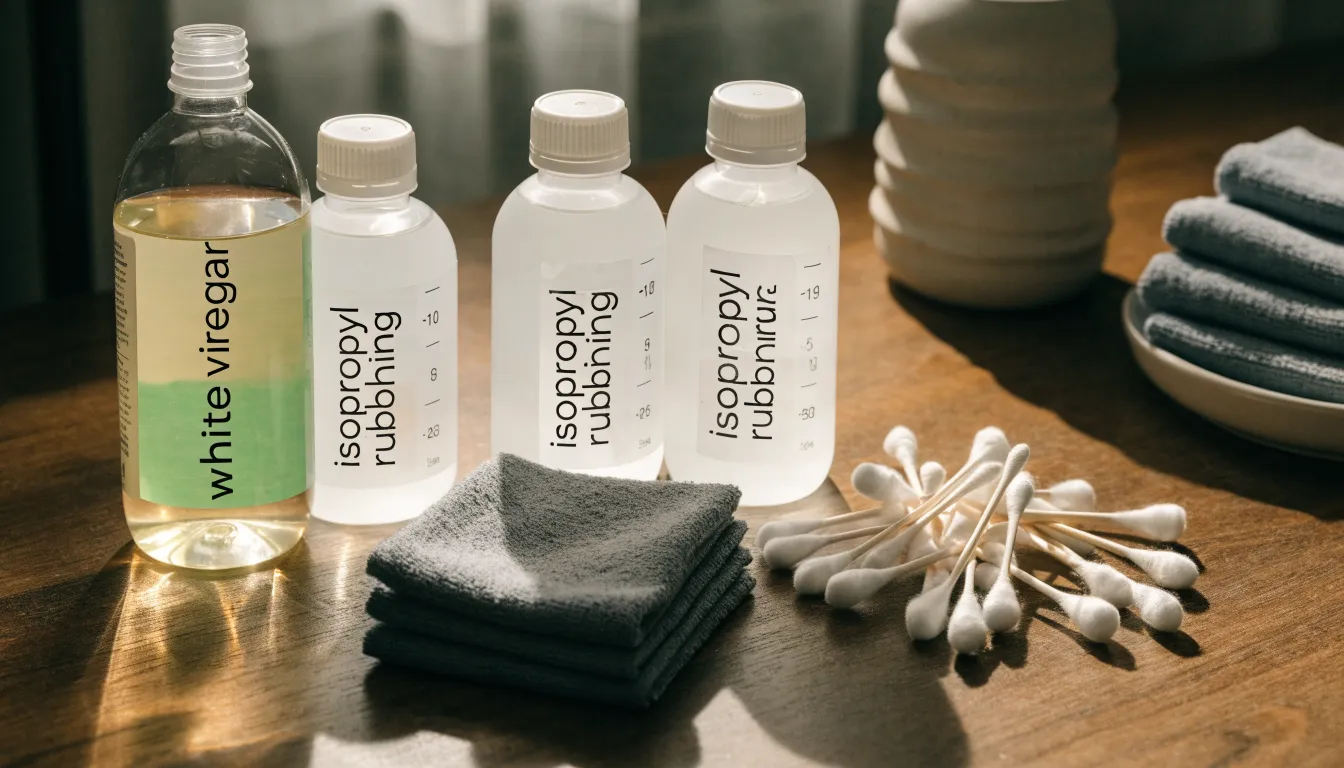
Rubbing alcohol is next. It easily dissolves the sticky, leftover essential oil residue that can cling to internal parts, so old oils don’t interfere with future use. It also adds extra disinfection. For wiping, use clean microfiber cloths—they’re gentle, scratch-free, absorbent, and leave no lint or streaks.
Finally, cotton swabs are great for hard-to-reach spots like tiny openings, crevices, and the mist nozzle. With these tools, you can clean your diffuser thoroughly, keeping it working well and lasting longer.
Knowing Your Diffuser Type
Understanding your diffuser type is the key to cleaning it well. Ultrasonic diffusers mix water with essential oils and use a vibrating ceramic disc to create a fine mist. Because water is involved, they need regular rinsing and wiping to prevent mineral buildup and stop mold or bacteria from growing, plus occasional descaling of the disc.
Heat diffusers use a heating element to gently warm essential oils so they evaporate into the air. There’s no water involved, so cleaning focuses on removing sticky, congealed oil residue from the heated plate. Wiping the surface with a cloth, sometimes dampened with rubbing alcohol, works well to dissolve and lift the leftover oil.
Evaporative diffusers use a fan to blow air across an absorbent pad soaked with essential oils, letting the oils evaporate and spread their scent. The main upkeep is replacing the pads regularly, since they get saturated or worn out. You should also occasionally wipe the fan blades and housing with a dry or lightly dampened cloth to remove dust and oil buildup. Each diffuser type needs its own cleaning routine to keep working well and last longer.
Safety First Steps
Before you clean your essential oil diffuser, always unplug it first. Remove the power cord from the wall outlet completely. This prevents electric shock and keeps water from damaging the internal electronics. Since a diffuser mixes water and electricity to create mist, this first step is essential for your safety and the device’s lifespan.
After unplugging, protect the base, which holds the motor, fan, and circuit board—all very sensitive to water. When cleaning the water tank or removable parts, keep the main base, including its underside, vents, and control panel, completely dry. Never submerge the base, and don’t let water drip into its openings.
For the outside of the base, use a damp cloth, not a wet one. Be careful around buttons, power ports, and indicator lights, as moisture can sneak through these areas. If water does get in, dry it immediately with a clean cloth and let the diffuser air-dry for several hours or overnight before plugging it back in. Following these simple electrical safety steps keeps you safe and helps your essential oil diffuser last longer.
Emptying Remaining Water
Properly emptying your diffuser is key to keeping it working well and lasting longer. Always unplug it first to avoid any electrical risk. Then move it over a sink or basin to get rid of the leftover water and essential oil mixture.
The important trick is to pour from the side opposite the air outlet or vent. This keeps water and oil from getting into the motor and internal parts. If liquid seeps in, it can cause corrosion, damage the electronics, or even break the diffuser completely.
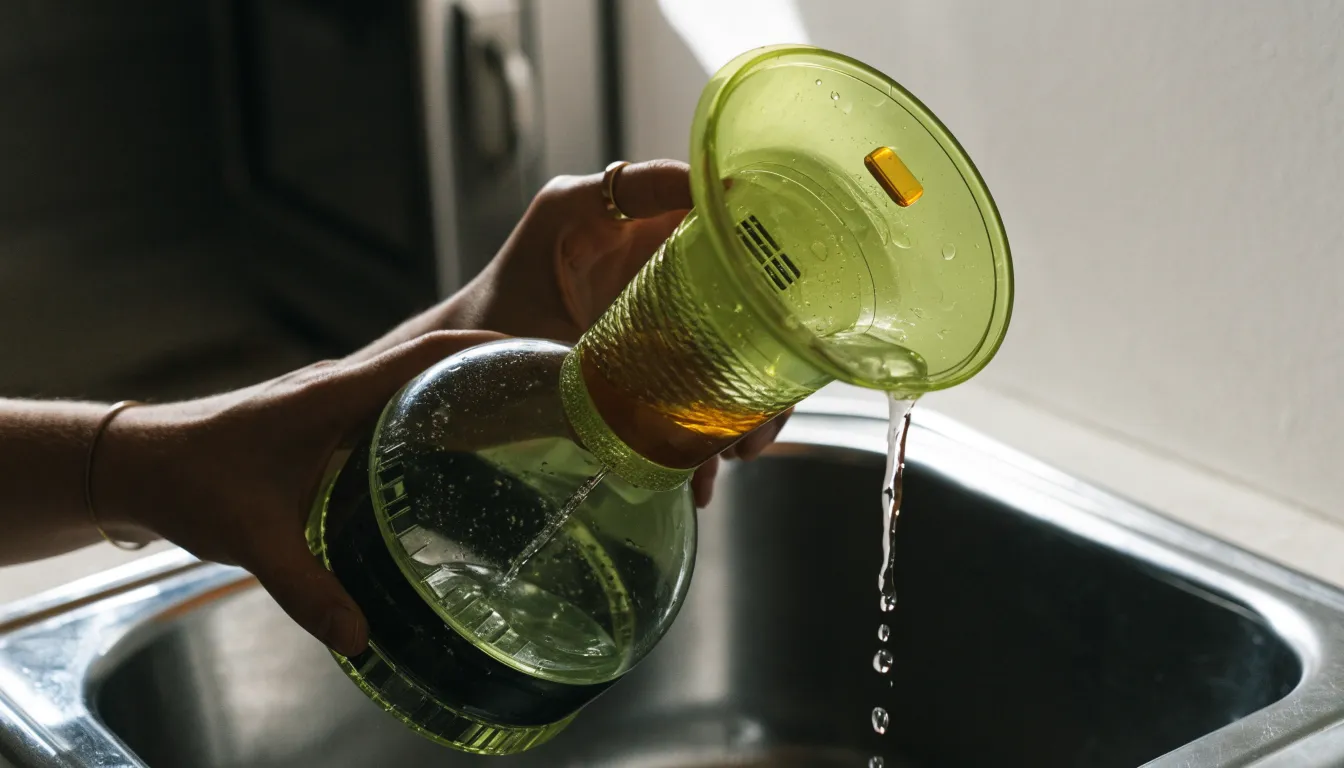
Pour slowly and steadily so the liquid drains cleanly. After most of the water is out, wipe the inside with a clean cloth to catch any leftover drops. This simple step protects your diffuser’s essential oil functions and gets it ready for a deeper clean.
Quick Daily Maintenance
Daily, after each use or at day’s end, wipe out the water tank with a soft damp cloth. This quick habit removes fresh oil residue before it can turn into sticky or waxy buildup.
Essential oils can leave traces, especially thicker or resinous ones. If left, these residues can clog the diffuser, weaken the mist, and even change the scent of future oils.
A simple wipe-down of the bottom, sides, and corners keeps the tank clean, helps the diffuser last longer, and ensures every session releases a pure, clear aroma. Let the tank dry fully before the next use.
Running the Cleaning Cycle
After emptying leftover essential oil and wiping away visible grime, the next step is a deeper internal clean. This clears out mineral and oil buildup inside the reservoir and on the ultrasonic plate, which can otherwise weaken the diffuser’s misting power and shorten its life.
To do this, fill the tank halfway with pure water—distilled or filtered works best. Then add one to two teaspoons of white vinegar, which breaks down both hard-water scale and sticky essential oil residue without damaging parts. Secure the lid and run the diffuser for about five minutes so the ultrasonic vibrations push the vinegar mixture into every hidden area the wipe couldn’t reach.
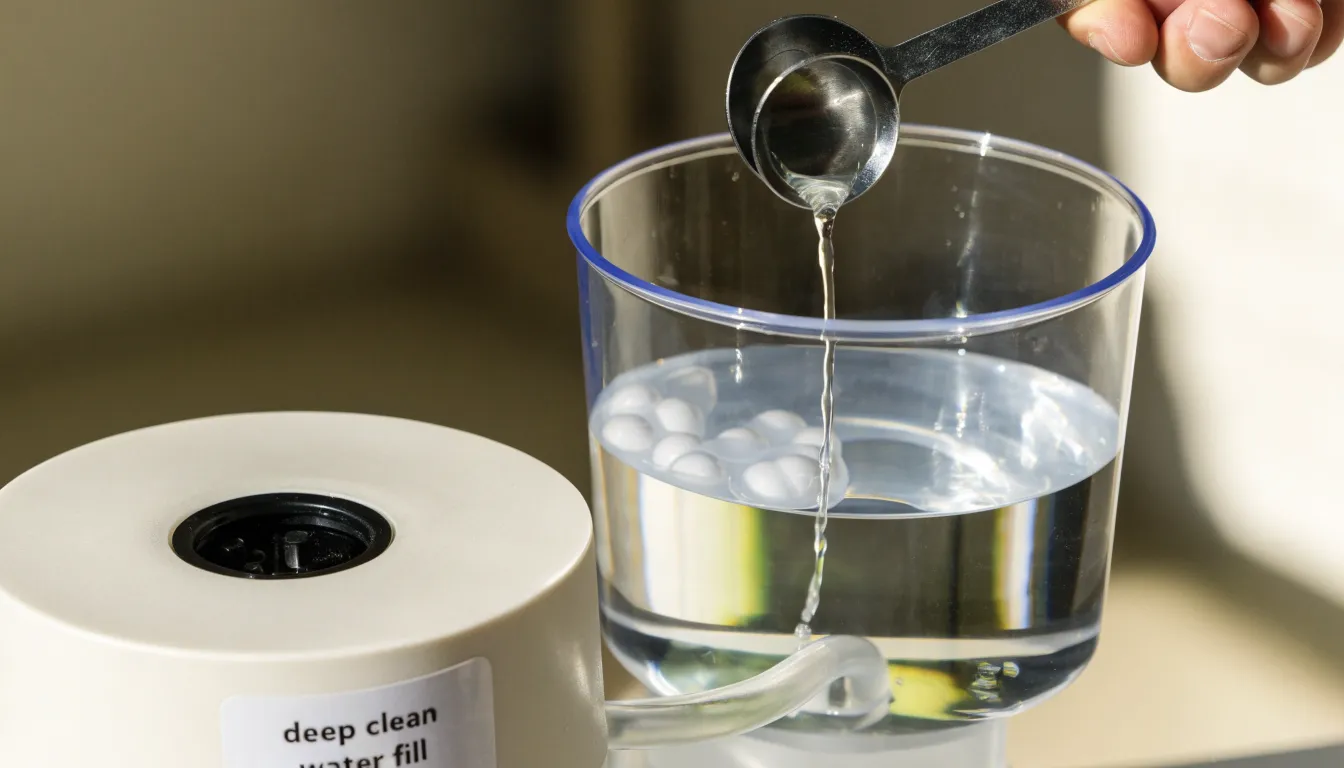
After five minutes, turn it off and let the solution sit for 15 to 30 minutes—longer if buildup is heavy. Then pour out the mixture and rinse the reservoir several times with fresh water to remove any leftover vinegar scent and loosened grime, leaving the diffuser clean and ready for your next essential oil use.
Rinsing Without Damage
After the vinegar has had time to break down buildup, pour it out carefully. Tilt the diffuser over a sink, letting gravity guide the liquid away from electrical parts like buttons, vents, and the power port. Move gently to avoid splashing the solution where it shouldn’t go.
Next, give it a freshwater rinse to remove any vinegar smell or taste that could ruin your next essential oil experience. Add just a small amount of clean water, swirl it around to touch all the inner surfaces, and pour it out carefully, again keeping the flow away from the electronic components.
Repeat this fresh water rinse two or three times until the vinegar is completely gone, giving you a clean slate for your oils. Always keep the base and wiring completely dry. This careful handling prevents damage and ensures your diffuser stays safe and effective for many more aromatherapy sessions.
Tackling Sticky Residue
Essential oil diffusers can build up a sticky residue over time, especially inside the water tank where oils meet air and moisture. This buildup can make the diffuser work less effectively and can even affect the purity of the scent it releases. Cotton swabs are especially useful for this job because their small, absorbent tips can reach the tight, curved areas inside the diffuser.
To clean the residue, dip a clean cotton swab in rubbing alcohol. Alcohol works well because it breaks down the oily, waxy leftover from essential oils that plain water cannot remove. Gently scrub the affected spots, focusing on corners, seams, and the bottom of the reservoir. These areas tend to collect the most sticky buildup, and the precision of a cotton swab helps clean them thoroughly. Also pay attention to any internal sensors or ultrasonic discs, since keeping those parts clean is important for proper diffuser function.
Apply light pressure while scrubbing, letting the alcohol dissolve the grime. You will likely see the swab pick up discolored oil and dirt, so switch to a fresh swab whenever it becomes dirty. This prevents spreading the residue around and ensures that even the most stubborn, hard-to-reach oil buildup is lifted away. After this careful cleaning, the reservoir will be fresh and ready to diffuse essential oils properly again.
Cleaning the Ultrasonic Plate
The ultrasonic plate is a small ceramic disc at the bottom of your diffuser’s water tank. It vibrates at high speeds to break down essential oils and water into the fine mist you breathe in. Because this disc is so delicate, you must be very careful when cleaning it—any scratch or damage can cut down mist production or stop the diffuser from working entirely.
To clean it, first make sure the diffuser is unplugged and empty. Dip a soft cotton swab in rubbing (isopropyl) alcohol—this dissolves oil residue without leaving buildup and dries fast. Gently wipe the disc in small, circular motions with a very light touch, letting the alcohol lift away oil film and mineral deposits. Do not scrub or press down hard.
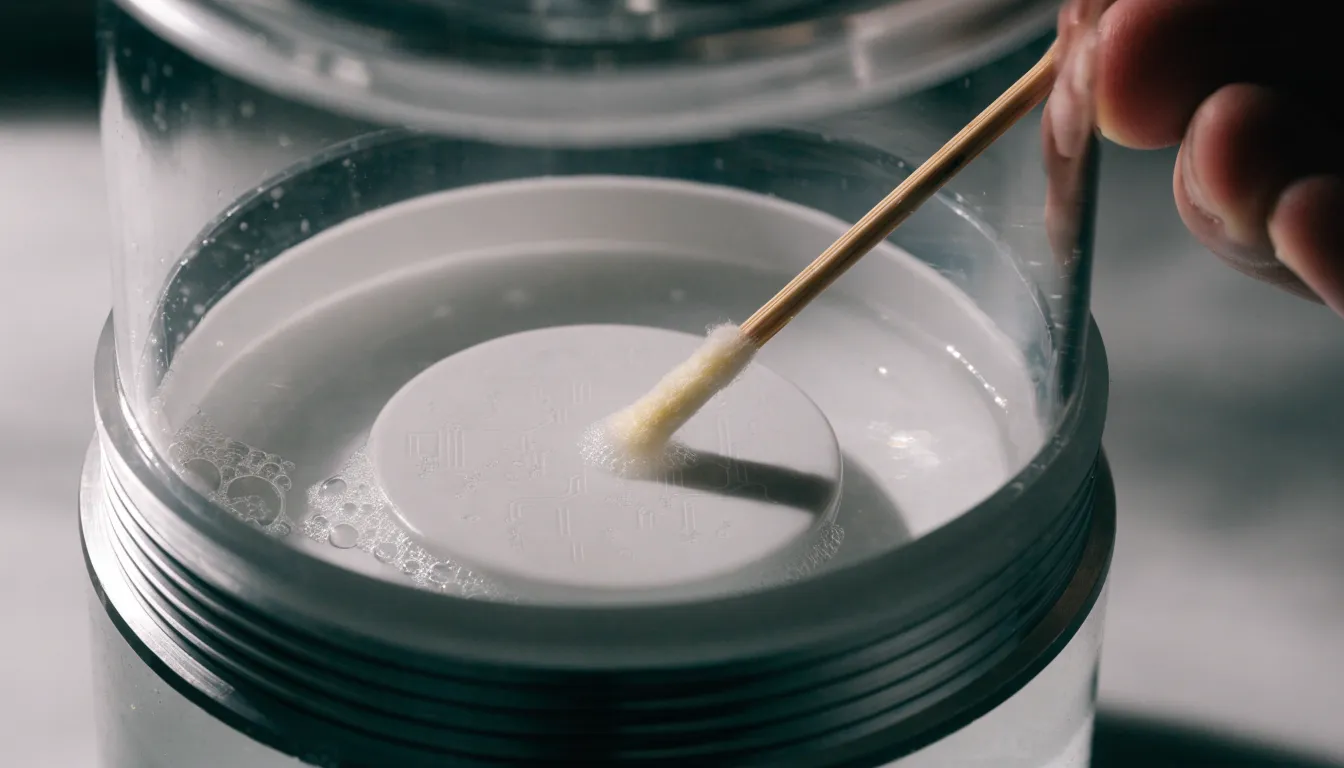
Avoid rough rubbing, harsh cleaners, or sharp objects, since even tiny scratches disrupt the vibrations. Let the alcohol evaporate completely for a minute. Cleaning gently this way keeps your essential oil diffuser working well for a long time, so it can keep Cleaning gently this way keeps your essential oil diffuser working well for a long time, so it can keep delivering its therapeutic benefits effectively.
Handling Mold and Mildew
Mold and mildew in your essential oil diffuser can be a serious problem. Stagnant water left too long gives them a place to grow, and once they form, they can be released into the air along with your essential oils. This can affect both your home environment and how well your diffuser works. The good news is you can safely clean it using simple household items like white vinegar or mild hydrogen peroxide.
For vinegar, first unplug the diffuser and pour out any leftover water. Then fill the water tank with equal parts white vinegar and water. This acidic mix helps break down mold and mildew. Let it sit for at least 30 minutes, or up to an hour if the buildup is stubborn. After that, drain the solution and gently scrub the inside with a soft brush or cotton swab, especially in crevices and around the ultrasonic plate. Rinse the tank well with clean water so no vinegar remains before you refill it with essential oils.
Another option is hydrogen peroxide. Empty the diffuser and mix one part 3% hydrogen peroxide with two parts water. Pour it into the tank and let it sit for 20 to 30 minutes. This kills mold, mildew, and bacteria. Then drain it and wipe down the inside with a soft cloth or brush. Rinse several times with fresh water to remove any leftover solution. Doing these natural cleanings regularly keeps your diffuser safe, fresh, and ready for continued use with your essential oils.
Drying Your Diffuser
Drying your diffuser properly after cleaning is key to keeping it working well and your essential oils pure. It stops mold from forming, which can ruin both the device and the oils, and prevents unsightly water spots. Start by shaking off excess water, then place the main reservoir and lid upside down on a clean, absorbent towel so gravity can drain the hidden areas. Be sure to take apart any separate pieces, like the mist cap or internal tubing, and lay them out individually so air can reach every surface.
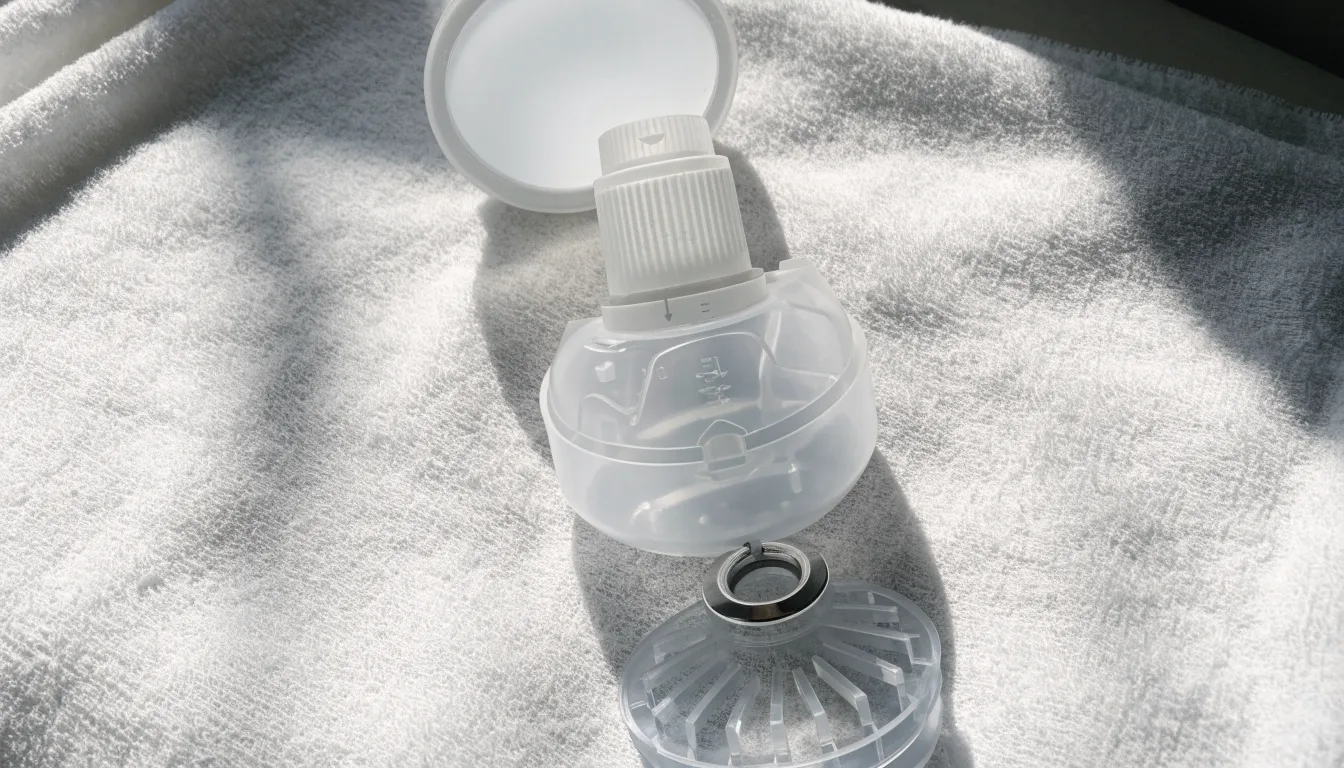
For the best results, dry the parts in a spot with good air circulation, but keep them away from direct sunlight or extreme heat, which can damage the plastic. While air drying helps, a final wipe-down makes a big difference. Use a soft, lint-free microfiber cloth to carefully wipe all surfaces, paying special attention to the inside of the water tank, the mist nozzle, and any small crevices where water tends to collect.
This manual wipe removes leftover moisture that air drying alone might miss, directly preventing the damp conditions that lead to mold growth and keeping your oils clean. It also polishes the parts, stopping hard water spots from setting in. Before you reassemble or store the diffuser, make sure every single piece is completely dry to the touch, so it stays pristine and ready for its next use.
Reassembling the Machine
First, make sure every part of your diffuser is completely dry before putting it back together. Any leftover moisture can cause mold or damage the inner workings. Wipe down the water tank, lid, caps, and nozzles with a clean, dry cloth, and let everything air-dry if needed, especially in small crevices. This step helps your diffuser last longer and keeps it ready for your essential oils.
Next, check any rubber or silicone gaskets or seals if your model has them. These rings keep water from leaking out during use. Look closely for cracks, wear, or damage, and replace any that seem worn out. When placing them back, make sure they sit evenly in their grooves without twisting or pinching. A properly seated gasket should feel secure and flush, so your diffuser can run safely and smoothly.
Finally, put the diffuser back together carefully. Reattach any removed parts like the mist nozzle or water level sensor, then place the lid on the base, matching any arrows or guides. The lid should click or twist into place without forcing it. If something resists, stop and check the alignment or dryness. Once everything fits together easily, your diffuser is ready for its next use with your favorite essential oils.
What to Avoid
Using harsh chemicals in your diffuser is a bad idea. Bleach is especially risky—it can corrode the plastic housing, making it brittle, discolored, and prone to cracking. That damage harms the structure and makes the device less effective, especially the delicate internal parts that help produce mist.
Aerosol sprays are also off-limits. Their strong solvents leave chemical residues that can interfere with the ultrasonic vibrations needed to create mist, causing weak performance or total failure. Worse, these residues can linger and mix with your essential oils, changing their scent and releasing unwanted chemicals into the air you breathe.
Skip abrasive scouring pads too. They scratch the smooth interior, weaken the plastic, and create tiny crevices where oil residue builds up and becomes harder to clean. Using these products also violates manufacturer instructions and voids the warranty, leaving you to pay for a replacement. Sticking with gentle, approved cleaning methods protects your diffuser and keeps your aromatherapy experience consistent and high quality.
Establishing a Schedule
To keep your diffuser working well with essential oils, set a simple cleaning schedule. A good routine prevents oil buildup and keeps scent diffusion strong. Plan for quick daily wipes, weekly flushes, and a deeper monthly clean, depending on how often you use it.
After each use, or at the end of the day, wipe the inside out. Unplug the diffuser, empty leftover water, and gently clean the reservoir with a soft, damp cloth. This removes fresh oil residue before it hardens, making future cleaning easier and keeping your oils smelling fresh.
Once a week, give it a deeper rinse. Fill the tank halfway with water, add a teaspoon of white vinegar, and run it for 10–15 minutes in a well-ventilated room. This breaks down stubborn oil and mineral buildup. Then unplug, empty it, and use a cotton swab with rubbing alcohol to clean tight spots and the ultrasonic disc. Rinse well and let it dry.
Once a month, do a full clean, especially if you switch oils often. Take apart any removable parts, and soak them with the reservoir in warm water and a few tablespoons of vinegar for 30–60 minutes. Wipe all surfaces with a soft brush or cloth, rinse thoroughly, and dry completely before putting it back together. This keeps your diffuser efficient and ready to release the full benefits of your essential oils.
Frequently Asked Questions
Why is it important to clean my essential oil diffuser regularly?
Regular cleaning prevents old essential oil residue, bacteria, and mold from building up, which can ruin the true aroma and Regular cleaning prevents old essential oil residue, bacteria, and mold from building up, which can ruin the true aroma and reduce therapeutic benefits. It also stops germs from spreading into the air you breathe and protects the diffuser’s internal parts from clogging or breakdown.
What cleaning supplies do I need for my diffuser?
You will need white vinegar to break down mineral scale and disinfect naturally. Rubbing alcohol easily dissolves sticky oil residue and provides extra disinfection. For wiping, use clean microfiber cloths, and cotton swabs are great for reaching hard-to-reach spots.
How do I safely clean my essential oil diffuser?
Always unplug your diffuser first to prevent electric shock and protect internal electronics. Keep the main base, motor, and control panel completely dry by not submerging it or letting water drip into openings. When emptying or rinsing, pour from the side opposite the air outlet to avoid damaging internal parts.
What should I avoid using to clean my essential oil diffuser?
You should avoid using harsh chemicals like bleach, as it can corrode plastic parts and make the device brittle. Aerosol sprays are also off-limits, as their solvents leave residues that interfere with mist production and release unwanted chemicals. Additionally, skip abrasive scouring pads, which scratch the interior and can void the warranty.
How often should I clean my essential oil diffuser?
You should establish a cleaning schedule including quick daily wipes after each use, a deeper weekly rinse, and a full monthly clean. Daily wiping removes fresh oil residue, while weekly and monthly cleans tackle stubborn oil and mineral buildup.
How do I clean the delicate ultrasonic plate in my diffuser?
To clean the ultrasonic plate, ensure the diffuser is unplugged and empty, then dip a soft cotton swab in rubbing alcohol. Gently wipe the disc with a very light touch in small, circular motions to lift oil film and mineral deposits. Never scrub, press hard, or use harsh cleaners or sharp objects, as this can damage the delicate disc.