Yes, essential oils can be used in candles, but it requires careful attention to flash points, wax type, and scent load. For best results, use soy or beeswax, add oils below their flash point at 160-170°F, and cure candles for 1-2 weeks. This ensures a safe burn and effective, lasting fragrance.
Table of Contents
- Essential Oil Candle Making
- Pure Oils Versus Fragrance Oils
- Flash Points Explained
- Choosing the Best Wax
- Calculating Your Scent Load
- Temperature Control Matters
- Top Essential Oils for Candles
- Oils to Avoid in Candle Making
- Hot Throw Versus Cold Throw
- Wick Selection Basics
- Preventing Clog and Burn Issues
- Curing Time Importance
- Fire Hazard Risks
- Eco Friendly Candle Crafting
- Simple DIY Recipe Steps
Essential Oil Candle Making
-
When making candles with essential oils, start with safety. Work in a well-ventilated space, because the concentrated aromas can quickly build up in a closed room and irritate your breathing. Open windows or use an exhaust fan to keep fresh air flowing.
-
Undiluted essential oils are highly concentrated and can irritate your skin. Wear nitrile gloves when measuring or handling them. If any oil touches your skin, wash it right away with soap and water, and avoid touching your eyes until your hands are clean.
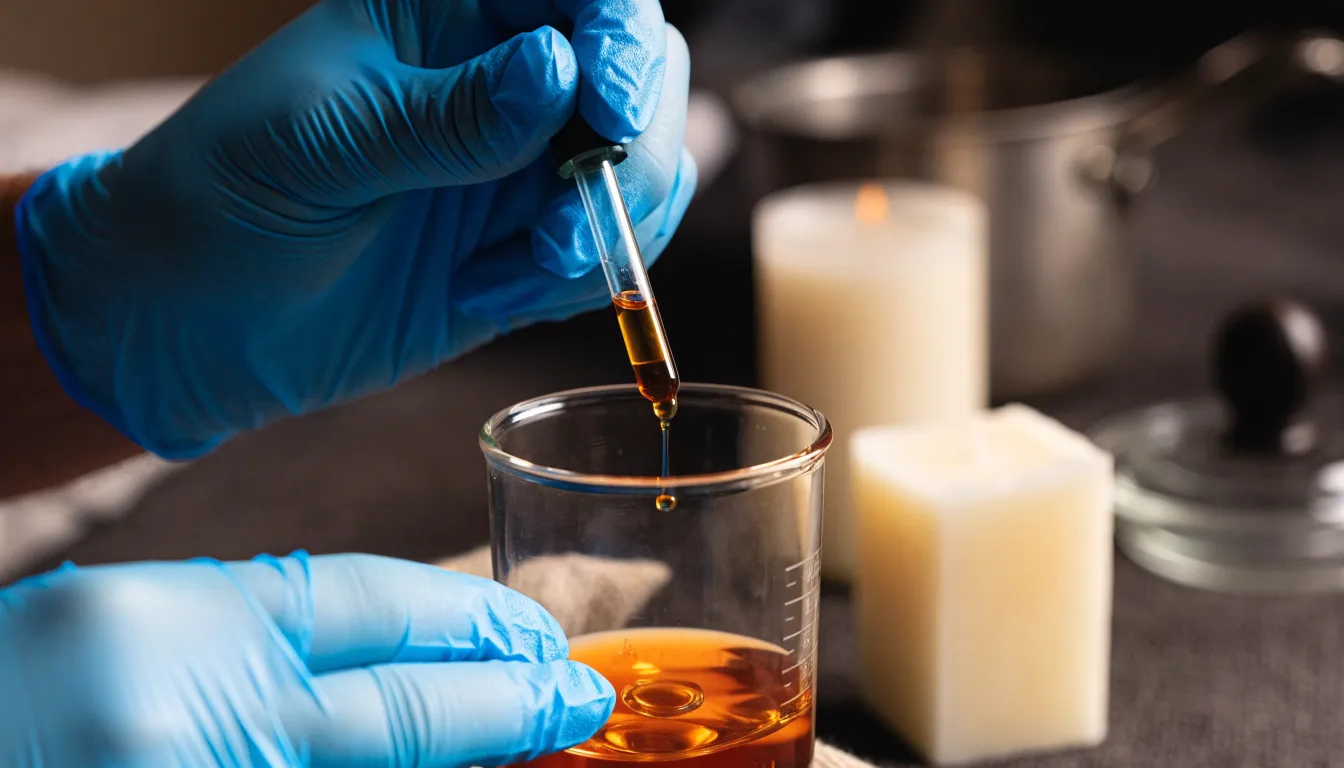
- Essential oils and melted wax are flammable, so keep them away from heat sources, open flames, and sparks. That includes stovetops, pilot lights, and other burning candles. Store oils in their original sealed containers away from sunlight and heat, and never leave melted wax unsupervised.
Pure Oils Versus Fragrance Oils
Essential oils come from real plants, flowers, and trees, usually through distillation or cold pressing. Because they are natural, their scents are subtle and complex. In candles, this means a lighter, more delicate aroma that may fade faster than synthetic options. To get a noticeable smell, you often need to use more oil, which raises the cost per candle.
Even though essential oils cost more, they offer a key benefit: aromatherapy. Different oils are chosen for their calming, uplifting, or invigorating effects. This makes them attractive beyond just smell—they add a potential wellness function to the candle, giving it a purpose that synthetic fragrances cannot match.
Synthetic fragrance oils, by contrast, are made in labs and designed for strong, long-lasting scent. They work efficiently at lower amounts, making them cheaper and more consistent. But they only provide fragrance, not the therapeutic qualities of essential oils. So the main takeaway is this: essential oils bring natural scent plus potential wellness benefits, while fragrance oils simply bring powerful aroma at a lower cost.
Flash Points Explained
Knowing the flash point of an essential oil is key to making good candles. The flash point is the lowest temperature at which an oil gives off enough vapor to ignite if a flame is nearby. It doesn’t mean the oil itself catches fire, just that its vapors could. Each essential oil has a different flash point because the chemicals inside it are all unique, and this affects both how safe your candle is and how well it smells.
If you add essential oil to hot wax, and the wax is hotter than the oil’s flash point, the lighter scent molecules evaporate and escape into the air quickly. This is sometimes called “burning off” or “gassing off.” Once that happens, a lot of the fragrance is gone before the candle even hardens. The finished candle can end up smelling very faint—or sometimes not at all—even if you put plenty of oil in it.
To make a safe, fragrant candle, always check the flash point of each oil you use. You can find this information on the supplier’s website, usually in the technical data sheet or safety data sheet (SDS). Reliable suppliers always provide it. For best results, let your wax cool down below the oil’s flash point before mixing in the oil. That way, the delicate scent compounds stay intact and are released gradually when the candle is burned.
Choosing the Best Wax
The wax you choose is key to how well essential oils are released. Soy wax is an excellent plant-based choice because its structure binds the oils effectively, providing a steady, even scent release. This clean burn helps preserve the delicate, nuanced notes of the essential oils.
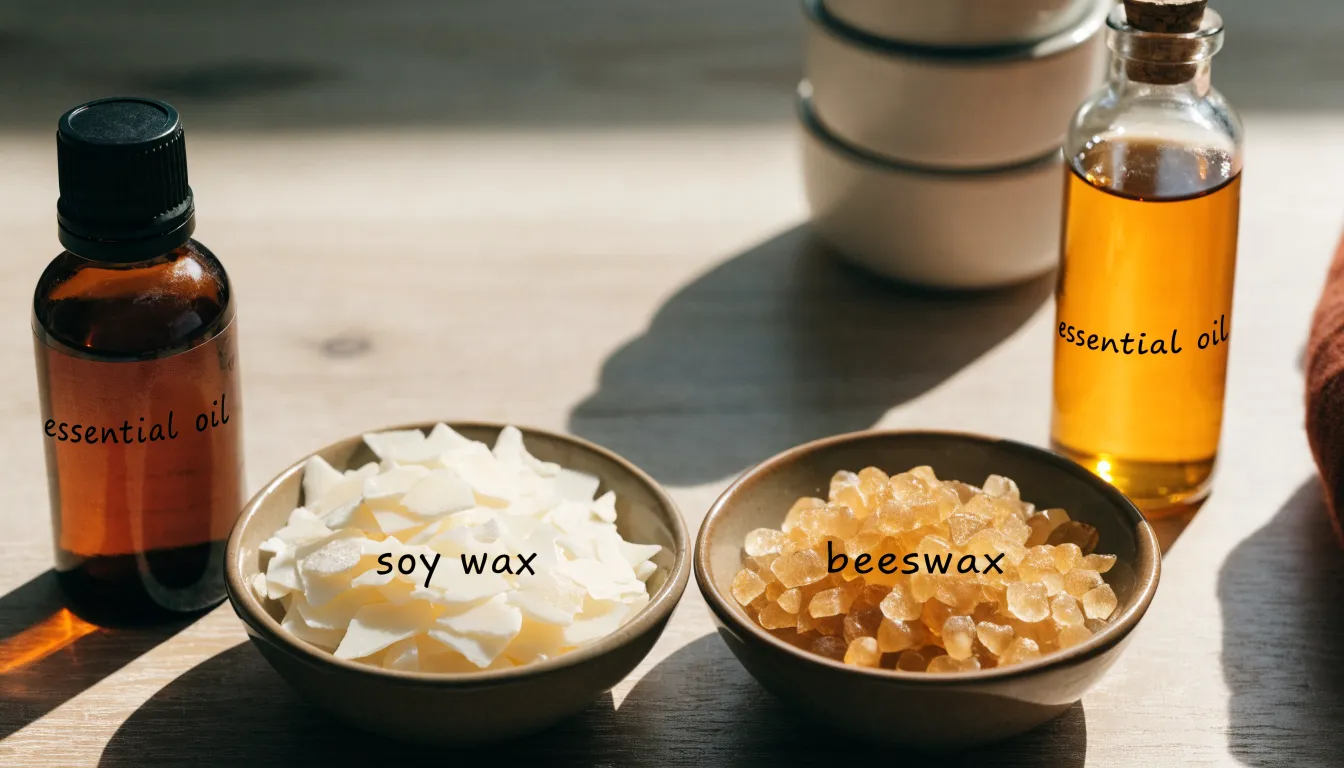
Beeswax also works exceptionally well. Its dense, hard texture holds the oils securely, and because it burns slowly, the aroma is diffused gently over a long time. This slow release is ideal for appreciating the subtle complexities of natural oils.
Paraffin wax, a petroleum product, is less suitable. While it holds synthetic fragrances well, pure essential oils don’t integrate as cleanly or harmoniously. Therefore, soy and beeswax provide the ideal natural foundation for authentic essential oil candles.
Calculating Your Scent Load
Accurately calculating your scent load is key to getting a pleasing aroma without it being too weak or too strong. The standard range for essential oils in candles is generally 6% to 10% of your total wax weight. Going below 6% can make the scent too faint, while going above 10% might hurt the candle’s burn or cause safety issues.
To do this, start with the total weight of your wax. For example, if you are using 8 ounces of wax, you can choose a scent load like 8% as a balanced starting point. Multiply your wax weight by this percentage—8 ounces multiplied by 0.08 equals 0.64 ounces—which is the precise weight of essential oil you need to mix in.
Weighing your oil is the most precise method, but converting to drops is handy for small batches. A standard estimate is about 600 drops per fluid ounce of oil. In our example, multiplying 0.64 ounces by 600 drops gives roughly 384 drops. Keep in mind that this is an estimate because oil densities vary, so always make small test batches to fine-tune the scent load for your specific oils and wax.
Temperature Control Matters
Achieving the right temperature is key to adding essential oils to candle wax. About 185°F (85°C) is the sweet spot. At this heat, the wax is fluid enough for the oils to spread and bond correctly, while still being cool enough to accept the fragrance effectively.
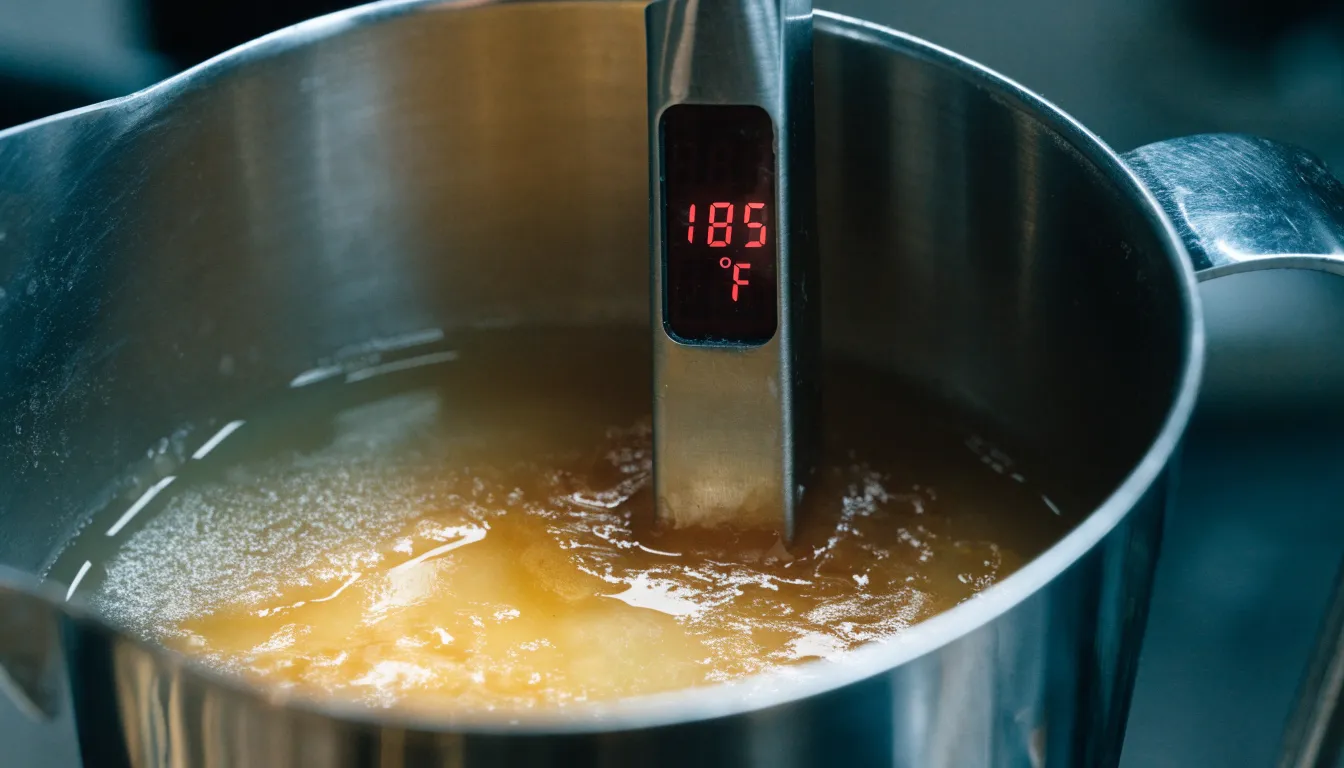
Adding oils when the wax is too hot, such as right after melting, destroys the delicate scent compounds—they can evaporate or change, leaving a weak or bad smell. Conversely, adding them when the wax is too cold makes it thick and sticky, preventing proper mixing. This results in uneven scent pockets, or the oils separate and sink to the bottom of the container.
Hitting that 185°F mark ensures the oils fully integrate into the wax structure. This guarantees a consistent, robust scent when the candle is lit. Managing this temperature carefully is essential for creating a high-quality essential oil candle that delivers its full aromatic experience.
Top Essential Oils for Candles
When choosing essential oils for candles, it’s important to pick types that are strong and mix well with wax so the scent comes through clearly. Some oils naturally bind better with wax and release a steady, noticeable fragrance as the candle burns. Lavender is a favorite for its calming, floral smell—it spreads easily through wax and fills a room with a comforting, relaxing aroma, making it perfect for unwinding. Cedarwood is another good choice, offering a warm, woody, grounding scent that holds up well in candles and adds a rich, earthy feel to any home.
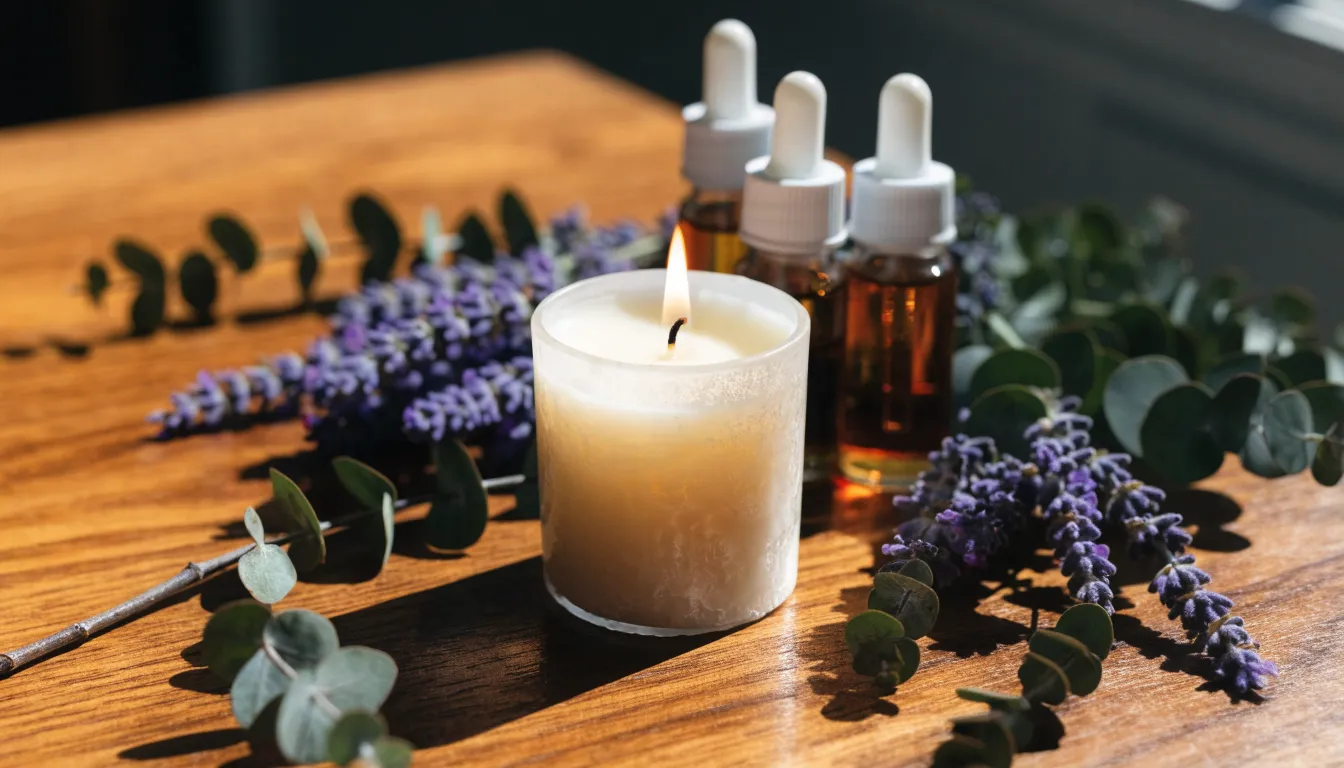
Eucalyptus is prized for its crisp, refreshing, and invigorating scent. It has excellent scent throw, helps clear the air, and creates an uplifting mood, which makes it great for spa-like or refreshing candles. Lemongrass also works wonderfully, with a bright, lemony, slightly herbal aroma that comes through cleanly and fills the space with an energetic, fresh fragrance.
Other oils like peppermint give a similarly strong, refreshing scent, while sweet orange adds a cheerful, uplifting citrus note that blends nicely into candle wax. The main thing is to choose naturally potent oils known for throwing a consistent, pleasant smell when burned in a candle.
Oils to Avoid in Candle Making
When making candles, choosing the right essential oils is important. Delicate floral oils like jasmine and neroli contain fragile aroma compounds that do not handle heat well. When burned, they can lose their subtle scent or even turn into an unpleasant, harsh odor, making these expensive oils a poor choice for candles.
Light citrus oils such as lemon, lime, and bergamot have their own problems. They are highly volatile and have low flash points, so they evaporate almost as soon as the candle is lit. The fresh, bright scent fades quickly, leaving little to no lasting fragrance. These light oils can also burn unevenly, producing more soot that leaves black residue on jars and nearby surfaces.
Overall, the key is to avoid oils that cannot provide a lasting, pleasant scent or that create poor burning conditions. Oils with better heat stability and a more even evaporation rate will give a cleaner, more enjoyable candle.
Hot Throw Versus Cold Throw
Understanding the difference between cold throw and hot throw is key to making candles with essential oils. Cold throw is the scent you smell when the candle is unlit and at room temperature—the first impression you get on a shelf. Hot throw is the fragrance released while the candle burns, and it’s the true test of how well the candle fills a room. A candle can have a great cold throw but a weak hot throw, or the reverse, so both matter.
Essential oil volatility plays a big role in both. Top notes are highly volatile oils that evaporate quickly even when unlit, so they boost the cold throw. But once the candle is lit, they can burn off fast, which may make the hot throw fade over time. Base notes are less volatile and evaporate slowly, so they give a quieter cold throw but release steadily under the candle’s heat, creating a longer-lasting and more consistent hot throw.
A well-made essential oil candle balances these different volatilities. The goal is to combine quick-smelling top notes with slower-releasing base notes, so the candle smells inviting before lighting and still spreads a strong, enduring aroma through the room while burning.
Wick Selection Basics
Choosing the right wick is key to making candles with essential oils burn well. Essential oils, especially heavier or thicker ones like sandalwood, vetiver, and patchouli, don’t vaporize as easily as lighter fragrance oils. This makes it harder for the wick to pull up the wax and oil mixture and keep the flame burning steadily.
To fix this, candle makers often use a slightly larger wick or one with a cotton core. A bigger wick has more surface area and draws up more of the thicker wax. A cotton core creates a stronger, steadier fuel channel, so the wick doesn’t get overwhelmed by the heavier oil. This helps the candle burn evenly and cleanly.
If the wick is too small for a heavy essential oil blend, it can’t melt the wax or burn the oils well. The flame may weaken and the wick can become “drowned” in melted wax. This leads to tunneling, less scent, and shorter burn time. The goal is to keep the flame steadily fed with the wax and oil mixture, so the whole top melts evenly and no wax builds up around the wick.
Preventing Clog and Burn Issues
A clean, even burn is key when using essential oils in candles. A common problem is wick clogging, especially with heavier or resinous oils that contain natural sediment. If the oil doesn’t fully blend into the wax, these particles settle around the wick, block the fuel supply, and cause a weak flame or a wick that goes out. Heating wax to about 180–185°F before adding oils and stirring thoroughly for several minutes helps the oil dissolve evenly and keeps particles from sinking.
Tunneling is another burn issue that can be made worse by using too much essential oil. High oil concentrations can change how the wax melts, making the melt pool too small and leaving lots of unmelted wax stuck to the container’s sides. To avoid this, stick to recommended essential oil ratios, usually about 3% to 10% of the wax weight, depending on the oil and wax type.
Finding the right balance requires testing different oil loads with your specific wick and container. The goal is a full melt pool and a consistent burn, which prevents wasted wax and tunneling. By controlling oil concentration and blending properly, you can keep the candle burning cleanly and evenly from start to finish.
Curing Time Importance
Essential oil candles need a curing period of one to two weeks after pouring. This waiting time allows the natural compounds in the oils to fully blend and bind with the wax, rather than just sitting on top. It is a key chemical step that ensures the oils spread evenly through the candle.
During curing, the essential oil molecules anchor themselves into the wax as it solidifies. This stable, even distribution makes a huge difference in performance. A properly cured candle releases fragrance much better, whether it is unlit or burning, and the scent stays consistent without fading or changing too quickly.
Skipping this step can lead to weak or uneven aroma, poor burning, tunneling, or an unsteady flame. Giving the candle enough time to cure helps the oils do their job, resulting in a cleaner burn and a stronger, longer-lasting scent.
Fire Hazard Risks
Essential oils create added fire risk because they are volatile compounds, and many have low flash points. A flash point is the lowest temperature at which an oil gives off enough vapor to ignite. If an oil’s flash point is lower than the heat of the candle flame, or if the oil separates and pools, it can cause a sudden, larger, and potentially uncontrollable flame. Knowing the flash point of each essential oil is essential for safe candle making.
Essential oils also change how wax burns, which affects the wick. They can thin the wax or alter its thickness, changing how much fuel reaches the flame. If the wick is too large for that specific wax and oil blend, it can pull too much fuel, causing an abnormally high flame. That can overheat the container, ignite nearby items, and make the candle burn unevenly or too quickly. Choosing the right wick for the exact wax and oil mixture is critical to avoid these hazards.
Higher amounts of essential oils, especially heavier types, can also cause incomplete burning and soot buildup. This soot collects on glass containers and can make the glass heat unevenly. The uneven heat may cause thermal shock, leading the glass to crack or shatter. That can spill hot wax and oil, creating a severe fire risk. Proper airflow, correct wick sizing, and careful essential oil concentration help reduce soot and keep the candle container safe.
Eco Friendly Candle Crafting
Start with a sustainable wax base for your essential oil candles. Choose plant waxes like soy, coconut, or certified sustainable palm, which are renewable alternatives to paraffin. Make sure your supplier can confirm the wax doesn’t come from deforestation or harmful land use, so your candle starts off eco-friendly.
For the scent, organic essential oils are the main feature. They come from plants grown without synthetic pesticides or fertilizers, so the oils are pure and naturally sourced. Organic certification also means safer, more sustainable growing practices, which is better for your home and the planet. These oils give candles clean, authentic aromas without artificial chemicals.
Finish with plastic-free packaging to keep the whole project zero-waste. Use reusable glass jars for your candles, and wrap them in recycled paper, cardboard, or natural fibers like jute and cotton. Avoid plastic wraps, bubble mailers, and synthetic ribbons. This keeps your essential oil candles green from ingredients to presentation.
Simple DIY Recipe Steps
Getting Started and Melting the Wax
To start, gather your materials: soy wax flakes, lavender essential oil, pre-tabbed wicks, heat-proof containers, a double-boiler (or microwave-safe pot), a thermometer, and a scale. Melt the soy wax gently using a double-boiler, heating it to about 180-185°F. While the wax melts, place the wicks in your containers, using the adhesive tabs or a bit of hot glue to hold them in place. This setup prepares everything before you add the scent.
Adding the Essential Oil at the Right Time
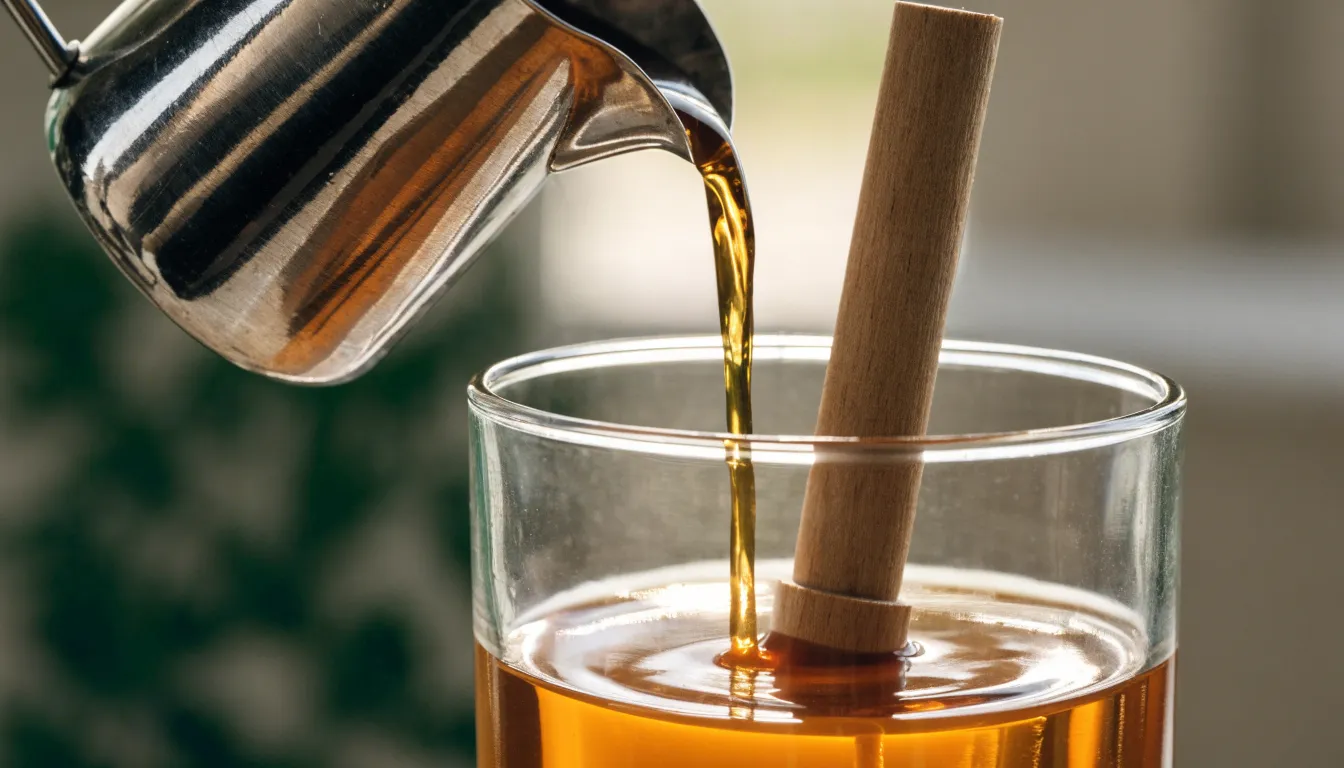
Once the wax is fully liquid, remove it from the heat and let it cool down. The temperature is key here—when the wax reaches about 160-170°F, it’s time to add the lavender oil. This timing protects the oil’s fragrance so it doesn’t burn off or weaken. Use a ratio of 6–8% oil by weight (e.g., 6–8 grams per 100 grams of wax) for a good scent strength. Stir the oil into the wax for about two minutes to make sure it’s completely mixed, so every part of the candle will smell equally.
Pouring, Curing, and the Final Scent
After mixing, let the wax cool further to about 135-140°F before pouring. This lower temperature helps the candle set with a smooth top. Pour the scented wax slowly into your containers, leaving about half an inch of space at the top. Finally, let the candles sit undisturbed for at least 24 hours—ideally 48–72 hours. This curing period is crucial because it gives the essential oil time to bind with the wax, which results in a stronger, more even fragrance when you burn the candle. Trim the wick to about a quarter inch, and your lavender candle is ready to enjoy.
Frequently Asked Questions
What’s the difference between essential oils and fragrance oils for candles?
Essential oils are natural plant extracts with subtle scents and potential aromatherapy benefits, though they cost more and their aroma may fade faster. Fragrance oils are synthetic, cheaper, provide strong, long-lasting scents, but offer no therapeutic qualities.
What safety precautions should I take when making essential oil candles?
Always work in a well-ventilated space and wear nitrile gloves to avoid skin irritation from concentrated oils. Keep essential oils and melted wax away from heat sources and open flames, and never leave melted wax unsupervised due to flammability. Essential oils are volatile and many have low flash points, which can cause increased fire risk if not handled correctly.
What is a flash point and why is it important for essential oil candle making?
A flash point is the lowest temperature at which an essential oil releases enough vapor to ignite if a flame is present. Knowing this is crucial because adding essential oil to wax hotter than its flash point can cause the scent molecules to evaporate, resulting in a weak-smelling candle, and can also increase fire risk. To maintain scent and safety, let wax cool below the oil’s flash point before mixing.
How much essential oil should I add to my candle wax?
The standard range for essential oils in candles is 6%-10% of the total wax weight. Going outside this can cause safety issues. Weighing your oil is the most precise method to ensure an accurate scent load.
Which types of essential oils should I avoid using in candles?
You should avoid delicate floral oils like jasmine and neroli, as their fragile aroma compounds don’t handle heat well and can turn unpleasant when burned. Light citrus oils such as lemon, lime, and bergamot are also problematic due to their volatility, low flash points, and tendency to fade quickly or produce soot.
Why is curing time important for essential oil candles?
Essential oil candles need a curing period of one to two weeks to allow the natural oil compounds to fully blend and bind with the wax. This ensures the oils spread evenly, leading to a much better and more consistent fragrance release when the candle is unlit and especially when burning. Skipping this step can result in a weak or uneven aroma and poor burning performance.