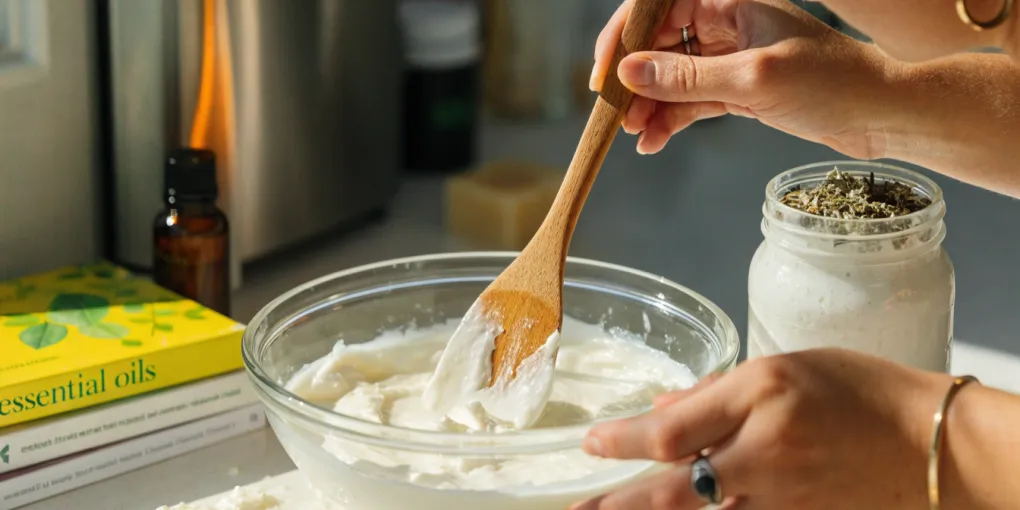
DIY deodorant with essential oils primarily works by using antibacterial plant compounds to neutralize odor-causing bacteria on the skin, rather than merely masking smells or stopping sweat. Key ingredients like coconut oil provide a base, absorbent powders manage wetness, and essential oils such as tea tree and lavender deliver natural antimicrobial benefits and pleasant scents, ensuring effective, personalized odor protection.
Table of Contents
Sweat Myths
Many people think sweat itself smells bad, but sweat is actually odorless. It is mostly water with a little salt, protein, and fat, and its main job is cooling the body through evaporation. This is why essential oils in DIY deodorant are useful—they aren’t meant to cover up sweat, but to help prevent odor from forming in the first place.
Body odor comes from bacteria on the skin that feed on the proteins and fats in sweat, especially in places like the armpits. When those bacteria break down these substances, they create bad odors. Essential oils with natural antibacterial properties help by reducing the bacteria, which targets the real cause of odor instead of just stopping sweat.
There is also a myth that sweating detoxifies the body. In reality, the kidneys and liver handle detoxification, while sweating mainly controls temperature. So a good essential-oil deodorant focuses on managing bacteria and odor while still allowing your body to sweat and cool down naturally.
Natural Ingredients
Crafting your own deodorant starts with choosing natural ingredients that each have a clear job. Bases like coconut oil, shea butter, or cocoa butter give the deodorant a smooth, spreadable texture and moisturize the skin, while also helping carry the other ingredients. For a deeper dive into selecting the right base, consider a simple guide to carrier oils and when to use them.
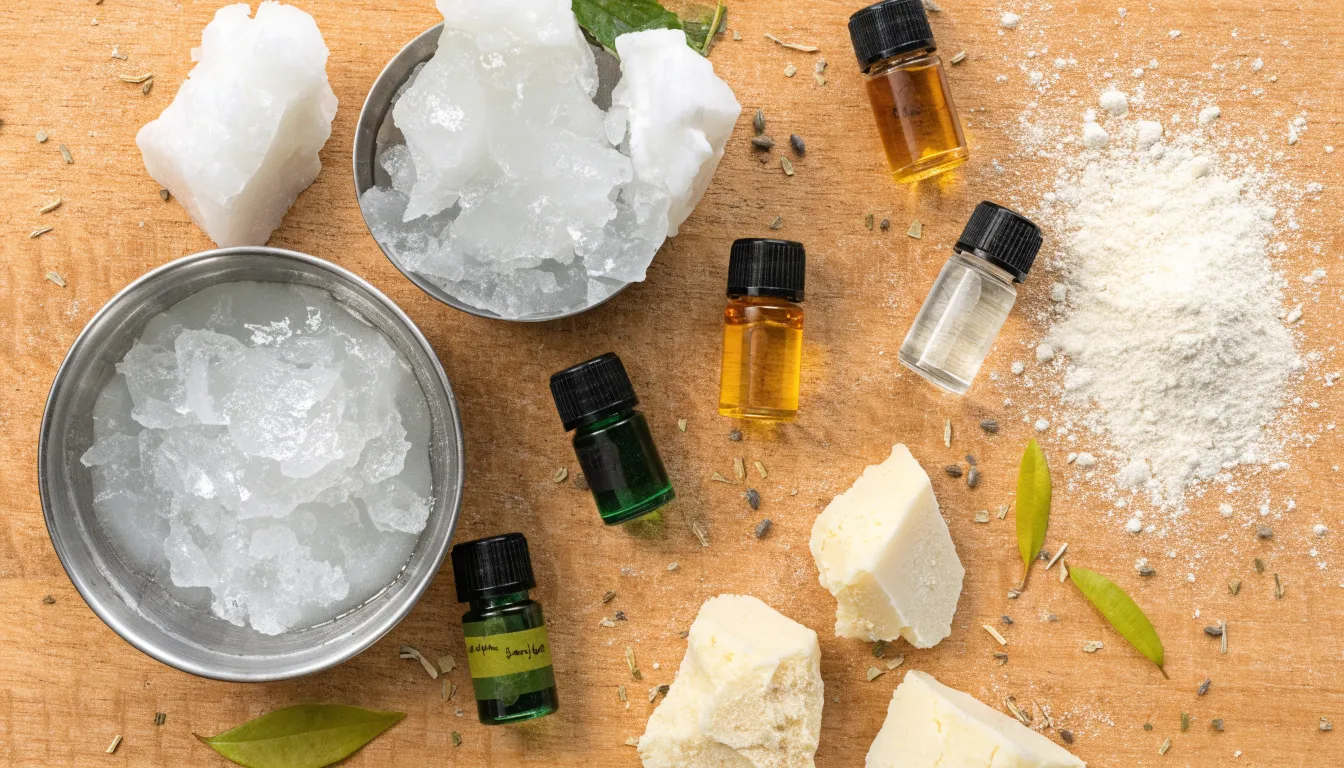
Absorbents help manage wetness and fight odor. Baking soda works well by neutralizing odor-causing acids, while arrowroot powder and cornstarch soak up moisture to keep underarms dry. This drier environment makes it harder for odor-causing bacteria to grow.
The active botanicals—especially essential oils—are key for freshness. Oils like tea tree, lavender, or frankincense can stop the growth of odor-causing bacteria and add a pleasant natural scent. When combined, the base provides smoothness and skin care, the absorbents control wetness, and the essential oils target the bacteria at the root of odor, making your homemade deodorant more effective and refreshing.
Essential Oil Power
Body odor happens when bacteria on the skin break down sweat, especially in warm, moist areas like the armpits. Sweat itself is mostly odorless, but it gives bacteria a place to grow and create smelly compounds. Essential oils work against this by using their natural antibacterial powers from plants to target and reduce the odor-causing bacteria directly.
Different oils use different active plant compounds. Tea tree oil has terpinen-4-ol, which disrupts bacterial cell membranes. Lavender oil contains linalool and linalyl acetate, which smell nice and stop bacterial growth. Rosemary oil provides antibacterial benefits through 1,8-cineole and camphor. Sage and palmarosa oils use thujone and geraniol to fight a wide range of odor-causing microbes.
These compounds interfere with the bacteria’s ability to multiply and turn sweat into bad smells. A big advantage is that they fight odor without harshly sterilizing the skin or upsetting your natural microbiome. Instead, essential oils work with your body’s defenses, keeping the underarm environment healthy while targeting the root cause of odor for lasting freshness.
Lavender Magic
Lavender essential oil is excellent for soothing sensitive underarm skin. Its natural calming properties quickly reduce discomfort, redness, and stinging, especially after shaving. By actively nurturing the skin, it helps ease post-shave tenderness and brings a sense of balance to easily irritated areas.
Beyond calming, lavender provides a gentle antibacterial defense. Since bacteria cause underarm odor, lavender works as a mild but effective barrier against these odor-causing microbes. This keeps you fresh without relying on harsh chemicals, preserving the skin’s natural balance.
For anyone dealing with redness, bumps, or general sensitivity, adding lavender to a DIY deodorant offers a comforting, protective shield. This ensures your underarms feel serene and well-cared for throughout the entire day.
Tea Tree Shield
Tea tree oil is the key to this DIY deodorant’s powerful natural protection. Its strong antibacterial and antifungal properties target the root cause of body odor: bacteria on the skin breaking down sweat. By stopping these odor-causing microbes, tea tree oil provides broad-spectrum defense and keeps you feeling fresh all day.
Because tea tree oil is potent, it must always be diluted before use. A safe amount is a 1% to 2% dilution in a carrier oil like jojoba or almond oil, or in a deodorant base like coconut oil or shea butter. For example, add just 1 to 2 drops of tea tree oil for every 100 drops of carrier or base.
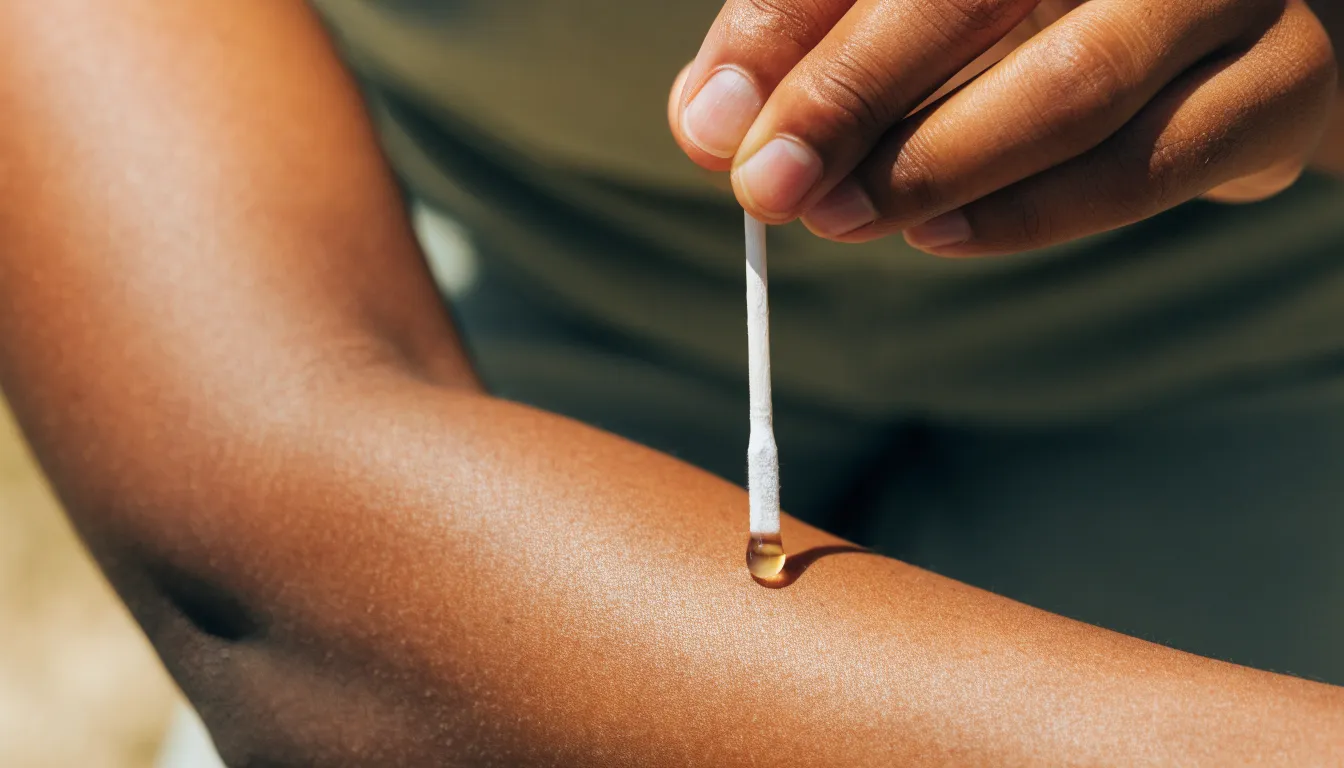
Before applying the deodorant to your underarms, do a patch test on a small area like your inner forearm. Wait 24 hours to check for redness, itching, or irritation. This simple step lets you enjoy tea tree oil’s germ-fighting benefits without irritating your skin.
Citrus Freshness
Citrus essential oils add natural freshness and a bright, uplifting scent to a homemade deodorant. Their cheerful aromas can invigorate the senses, while their natural cleansing properties help purify the skin and manage odor-causing bacteria. This makes them a great alternative to the harsh synthetic chemicals found in many commercial deodorants.
Different citrus oils offer unique benefits. Lemon has a crisp, clean scent that is widely recognized. Bergamot brings a more complex, slightly floral and sweet aroma that feels refreshing and sophisticated. Grapefruit adds a tangy, effervescent, and mildly bitter note that is wonderfully revitalizing. These oils can be used alone or blended to create a custom, effective, and pleasant deodorant.
One important safety point: many cold-pressed citrus oils contain furanocoumarins, which can cause skin burns, discoloration, or irritation when exposed to sunlight. To avoid this, choose steam-distilled citrus oils, as the distillation process removes these phototoxic compounds. This lets you safely enjoy the clean, uplifting benefits of lemon, bergamot, and grapefruit in your DIY deodorant.
Carrier Oils Matter
Choosing the right carrier oil is the foundation of any good DIY deodorant. It does more than act as a base—it affects how the deodorant performs and feels. Coconut oil and shea butter are two popular options, and each brings different benefits. Coconut oil is known for its natural antimicrobial properties, thanks to lauric acid. This helps fight odor-causing bacteria on the skin. However, coconut oil is liquid at warmer temperatures, which can make the deodorant softer and more liquid-like. This is something to keep in mind if you live in a hot climate or prefer a smoother application.
Shea butter, on the other hand, is deeply moisturizing and rich in vitamins A and E. It soothes and hydrates sensitive underarms. It also has a creamier, firmer texture at room temperature, making the deodorant stick more solid and stable in warm weather. The best choice depends on your skin type and local climate: choose coconut oil for strong odor control, or shea butter for moisture and a firmer product.
Absorbent Powders
Absorbent powders are the base of a DIY deodorant with essential oils, and their main job is to manage underarm moisture. Baking soda and arrowroot powder are the two most common choices, but they work differently and suit different skin types.
Baking soda, or sodium bicarbonate, is very good at absorbing wetness and neutralizing odor because it has a high alkaline pH. That same high pH can disrupt the skin’s natural acid mantle, though, and often causes redness, itching, or rashes—especially on sensitive skin.
Arrowroot powder is a gentler option. It comes from tropical plant roots, has a neutral pH, and feels soft and silky while still absorbing sweat well. It is less likely to irritate the skin, but may be slightly weaker for very heavy sweating. If your skin is sensitive, start with arrowroot. For stronger protection, try mixing a little baking soda with arrowroot and watch how your skin reacts. The goal is to stay dry and comfortable without harming your skin.
Recipe Breakdown
Making your own natural deodorant is simple with a clear recipe. Start by melting one-third cup of coconut oil (for its antibacterial and smooth properties), one-quarter cup of shea butter (for moisture), and two tablespoons of beeswax pellets (to firm the stick). Use a double boiler or a bowl over simmering water, stirring until fully liquid, then set it aside to cool slightly.
In a separate bowl, mix one-third cup of baking soda (to neutralize odor) and one-half cup of arrowroot powder (to absorb moisture and keep you dry). Make sure the powders are lump-free, then gradually whisk them into the cooled oil mixture to create a smooth, even paste.
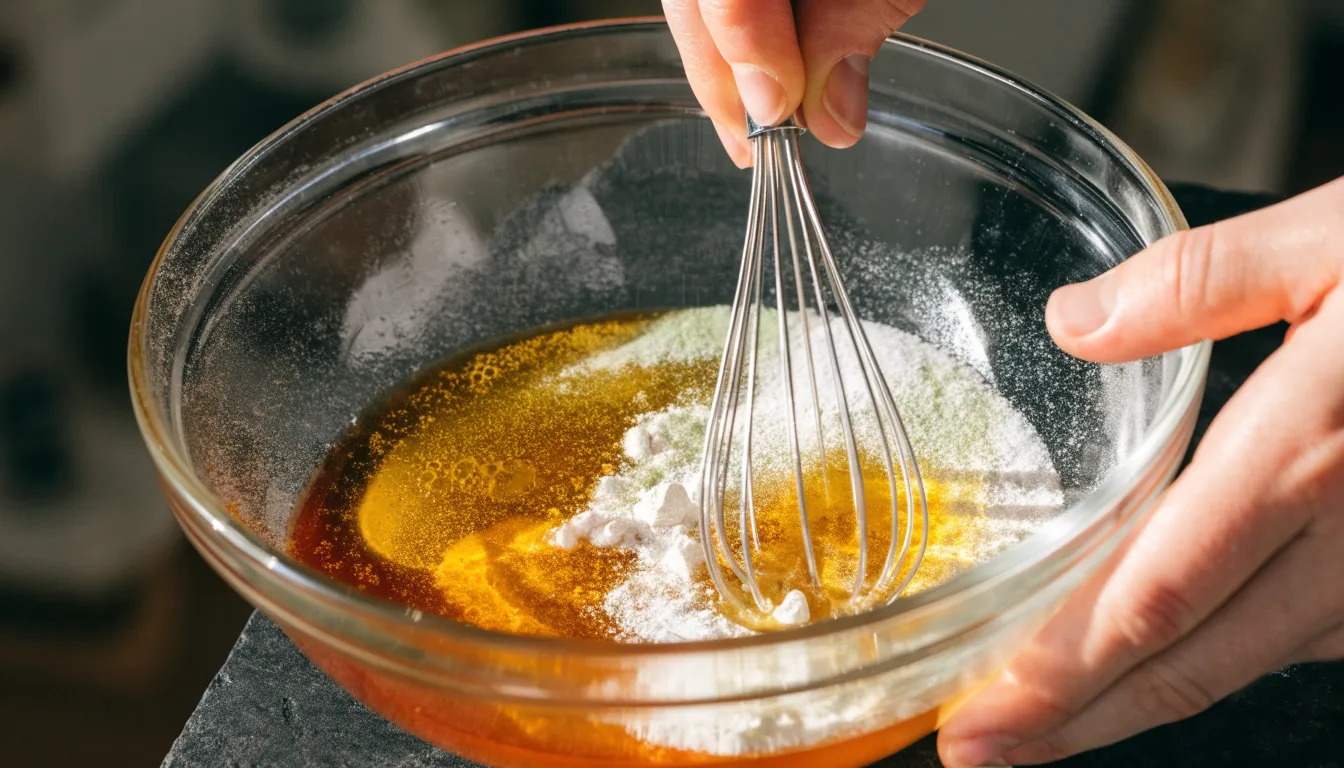
Now for the essential oils: add ten drops of tea tree oil for powerful antimicrobial action, twenty drops of lavender oil for its soothing aroma and antiseptic benefits, Now for the essential oils: add ten drops of tea tree oil for powerful antimicrobial action, twenty drops of lavender oil for its soothing aroma and antiseptic benefits, and five drops of frankincense oil for an earthy, deeper scent. Stir everything thoroughly, pour the mixture into deodorant tubes or jars, and let it set at room temperature for a few hours or in the fridge for about an hour. This precise approach ensures a successful, personalized batch that supports your natural hygiene routine.
Mixing Technique
Melting the Base Fats
To make a stable DIY deodorant, melt delicate fats like coconut oil or shea butter using a double boiler. This means placing a heatproof bowl over simmering water, without the bowl touching the water. The gentle steam heat melts the fats slowly and evenly, preventing them from scorching or overheating, which keeps their beneficial properties and texture intact.
Cooling Before Adding Oils
Once the fats are completely melted, take the bowl off the heat and let the mixture cool until it’s just warm to the touch—not hot. This step is crucial because essential oils are volatile, meaning their aromatic and therapeutic compounds break down easily in heat. If you add them to a scorching mixture, they can evaporate or change chemically, losing their potency, altering their scent, and reducing their ability to fight odor.
Blending the Essential Oils
At this moderated temperature, gently but thoroughly stir in your chosen essential oils. This careful mixing ensures they spread evenly through the fats while preserving their natural antimicrobial benefits and pleasant fragrances. By melting and blending this way, you avoid burning and degradation, guaranteeing a smooth, effective final product that keeps all its natural advantages.
Pouring And Setting
The pouring and setting stage is what decides whether your essential oil deodorant turns out smooth or grainy. After blending your ingredients, you need to pour the mixture into molds and let it solidify. This is where many DIY mistakes happen—ingredients can separate, or the texture can become rough. Using the right technique keeps the mixture even and helps the essential oils spread consistently through every bar.
Before pouring, pay attention to the temperature. Let the fully melted mixture cool a little, but don’t let it start setting in the mixing container. If it’s poured too hot, heavier ingredients sink and lighter oils rise, which can make the essential oil distribution uneven. If you wait too long, the mixture thickens and traps air bubbles. Aim for a temperature where it still pours easily but has lost some of its intense heat, then pour steadily into your molds without overfilling.
Once poured, rapid chilling is your best tool. Cooling slowly causes waxes and butters to crystallize at different speeds, which often leads to a grainy, sandy texture. Place the filled molds in the refrigerator or freezer right away. Fast cooling makes the whole mixture solidify quickly and evenly, locking in the essential oils and other ingredients before they can separate or form crystals. The result is a smooth, firm, professional-looking deodorant every time.
Container Options
Choosing the right container for homemade deodorant depends on how you like to apply it and carry it with you. The two main options are glass cream jars and twist-up push tubes, also called stick dispensers. Each one suits different lifestyles and different types of deodorant formulas.
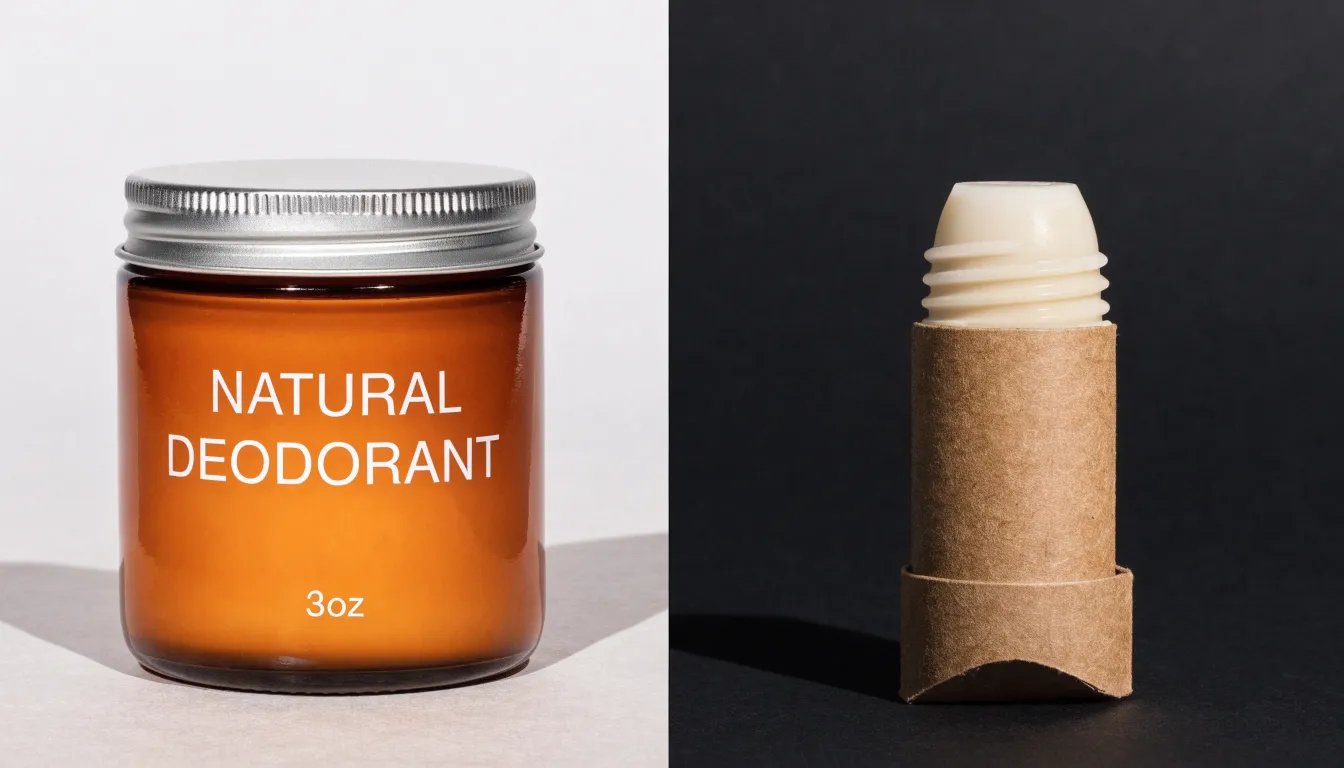
Glass cream jars are a nice, eco-friendly choice. They work best with creamier, softer deodorant that you scoop out with your finger or a small spatula. The open design lets you reach every bit of product, which means less waste, and using your fingers gives you good control and coverage. Glass is reusable, but jars are better for at-home use since open containers can spill or leak when traveling.
Twist-up push tubes are more convenient and portable. They work like normal deodorant sticks, so you can apply directly without touching it with your fingers. That makes them fast, hygienic, and easy to use in public. They’re best for firmer, solid deodorant that holds its shape, and their sturdy design helps prevent leaks—great for gym bags, commutes, or travel. In the end, the best choice depends on how you prefer to apply the deodorant, the texture of the formula, and how portable you need it to be.
Application Tips
To get the most from your DIY deodorant, let your skin warm up first. Hold a solid stick or balm against your underarm for five to ten seconds before spreading. Your body heat softens it just enough so it glides on smoothly and evenly. This makes the layer thin and consistent, helps the essential oils and active ingredients spread properly, and prevents pulling or tugging on your skin.
More product does not mean more protection. One or two gentle swipes across each underarm are usually enough. Focus on covering the whole area where you sweat most, so the essential oils are distributed evenly. A thin, uniform layer works better than a thick one. Too much deodorant feels uncomfortable and can rub off onto your clothes, leaving oil stains or white marks.
After you apply it, wait one or two minutes for the deodorant to absorb or dry before getting dressed. This lets it settle into your skin, stops transfer to fabric, and keeps your clothes clean. With these simple steps, you get dependable odor protection using only a small amount of product, and your garments stay safe from stains.
Troubleshooting Rash
Rashes after switching to homemade deodorant are usually not from essential oils but from baking soda. Baking soda is too alkaline and disrupts the natural pH of your underarm skin. Redness, itching, burning, dryness, or bumps are common signs, especially after a few days of use.
To treat the rash, gently wash the area with mild soap and water, then apply aloe vera gel to calm irritation or coconut oil to moisturize and protect. A cool compress can also help reduce discomfort.
To prevent it from coming back, swap the baking soda in your recipe for the same amount of arrowroot powder, cornstarch, or magnesium hydroxide powder. These absorb moisture and neutralize odor without irritating the skin. Note: this excerpt does not discuss essential oil functions—it focuses on the baking-soda rash and how to fix it.
Shelf Life Secrets
Proper storage is key to keeping your homemade deodorant fresh, and this directly protects the essential oils inside. Heat and humidity are the main enemies—high temperatures can melt the deodorant and alter its texture, while excess moisture encourages spoilage. For the best results, store it in a cool, dry place, like a bathroom cabinet away from direct sunlight, heat sources, and steam from hot showers.
Air exposure is another major threat, as oxygen causes oxidation that breaks down essential oils and natural fats. This not only creates an off-odor but also reduces the potency and effectiveness of the essential oils. To minimize this, always keep your deodorant in an airtight container, which acts as a protective barrier against environmental degradation.
Adding natural antioxidants to your recipe is an effective way to fight oxidation and extend shelf life. Vitamin E oil, in particular, is a powerful antioxidant that helps shield the delicate fats and oils—including essential oils—from turning rancid. Just a few drops per batch can make a noticeable difference, keeping your DIY deodorant fresh and its essential oils potent for much longer.
Frequently Asked Questions
Why does body odor happen, according to the article?
Body odor comes from bacteria on the skin that feed on sweat. When those bacteria break down these substances, they smell. Sweat itself is odorless.
What role do essential oils play in DIY deodorant?
Essential oils in DIY deodorant are useful because they are not meant to cover up sweat, but to help prevent odor from forming in the first place. Their natural antibacterial properties help by reducing the bacteria that cause odor, targeting the real cause.
What safety precautions should I take when using tea tree oil or citrus oils in my deodorant?
Tea tree oil must always be diluted before use, typically to a 1% to 2% dilution, and a patch test on a small area is required before applying it to your underarms. For citrus essential oils, it is important to choose steam-distilled varieties, as cold-pressed oils contain furanocoumarins that can cause skin irritation or burns when exposed to sunlight.
Can baking soda in homemade deodorant cause skin irritation?
Yes, baking soda is very effective at absorbing wetness and neutralizing odor, but its high alkaline pH can disrupt the skin’s natural acid mantle. This often causes redness, itching, or rashes, especially on sensitive skin.
What’s the best way to store homemade deodorant to keep it fresh?
To keep your homemade deodorant fresh and protect its essential oils, store it in a cool, dry place away from heat and humidity. Always keep it in an airtight container to minimize air exposure, which can cause oxidation and reduce potency.
How can I make sure my DIY deodorant has a smooth texture and even essential oil distribution?
To achieve a smooth texture, rapidly chill the filled molds in the refrigerator or freezer right away, as slow cooling can cause a grainy texture. For even essential oil distribution, let the melted base mixture cool until it’s just warm to the touch before stirring in the essential oils, which preserves their potency and ensures thorough blending.